
Roasted Garlic Cheddar Bread
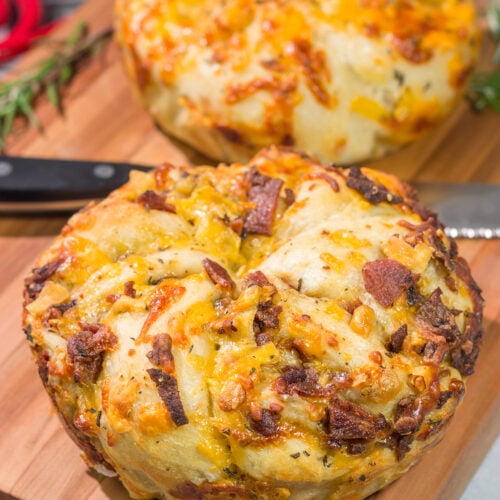
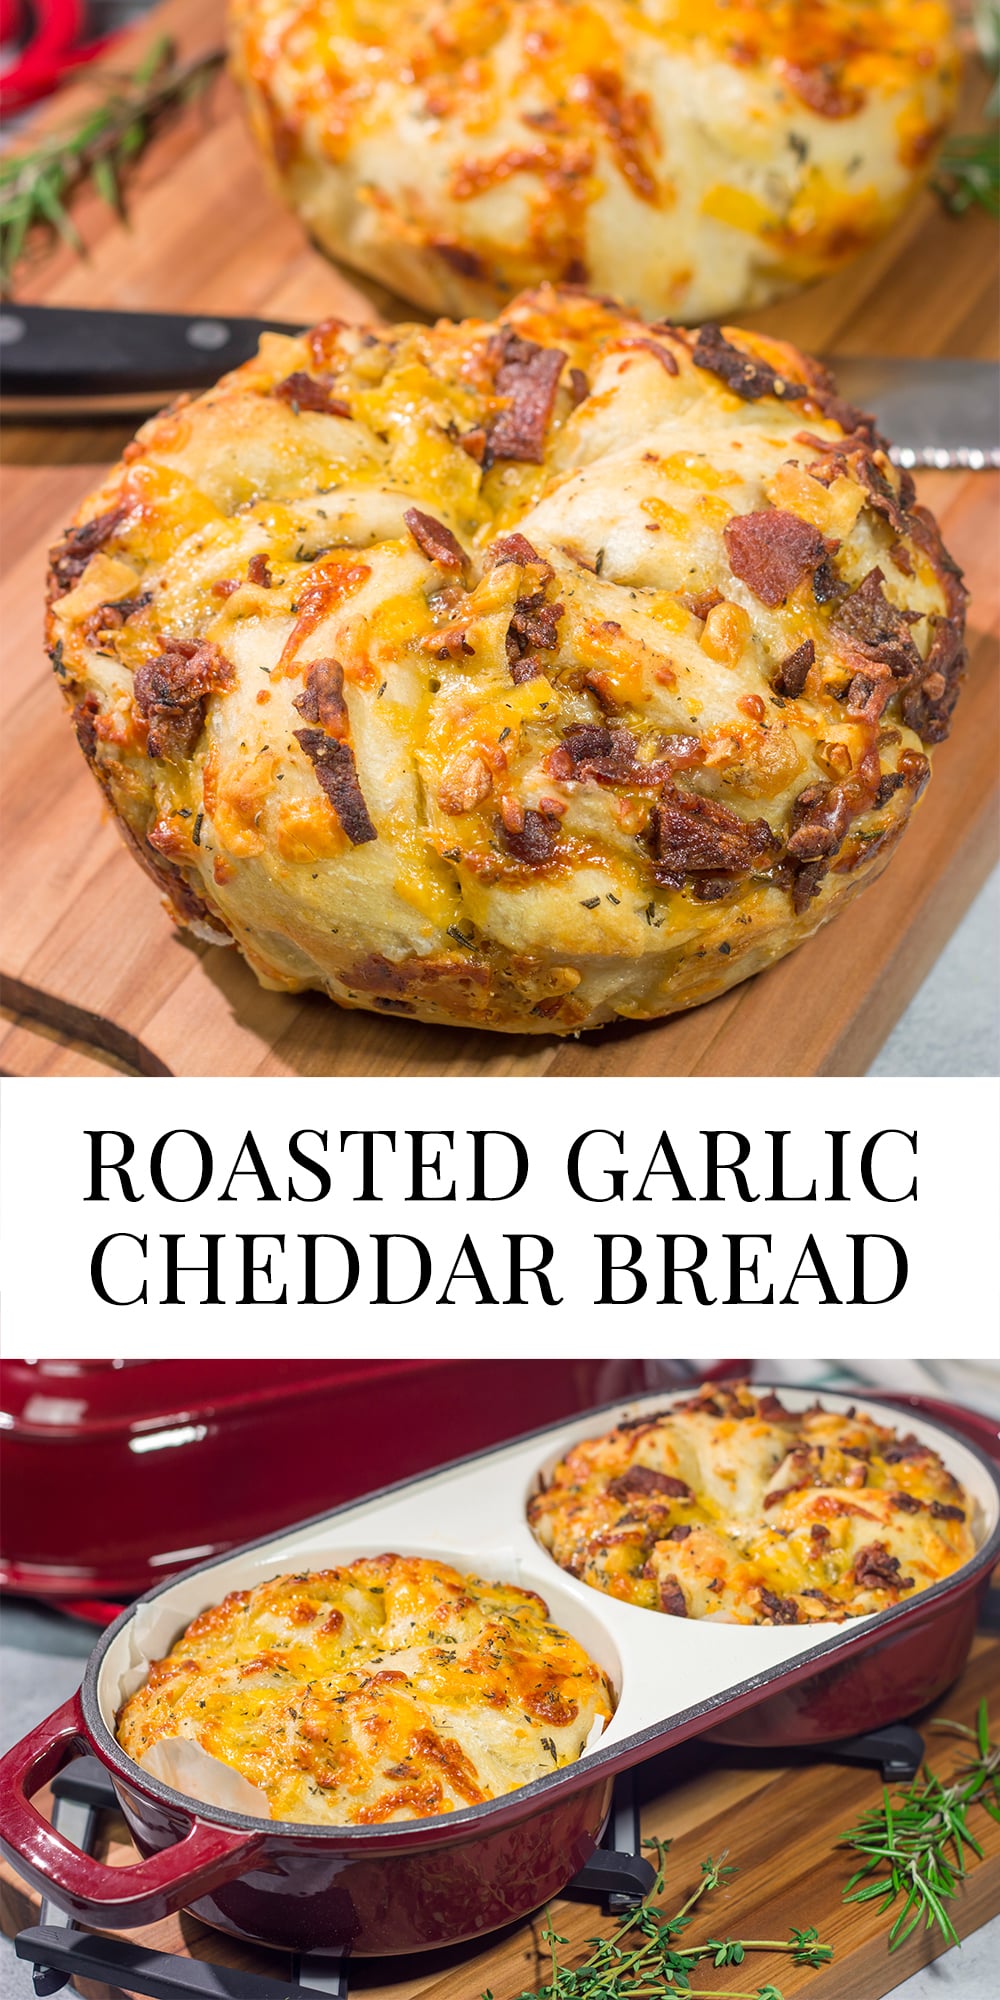
This Dutch Oven Roasted Garlic Cheddar Bread features a crispy, golden crust with a soft, chewy center. It’s packed with plenty of savory roasted garlic and sharp cheddar cheese in every bite!
This Roasted Garlic Cheddar Bread post is sponsored by AHJ Home, but the recipe and opinions are entirely my own. Thank you for supporting the brands that support Spiced!
This post may contain paid links. For more information, please see our disclosure policy.
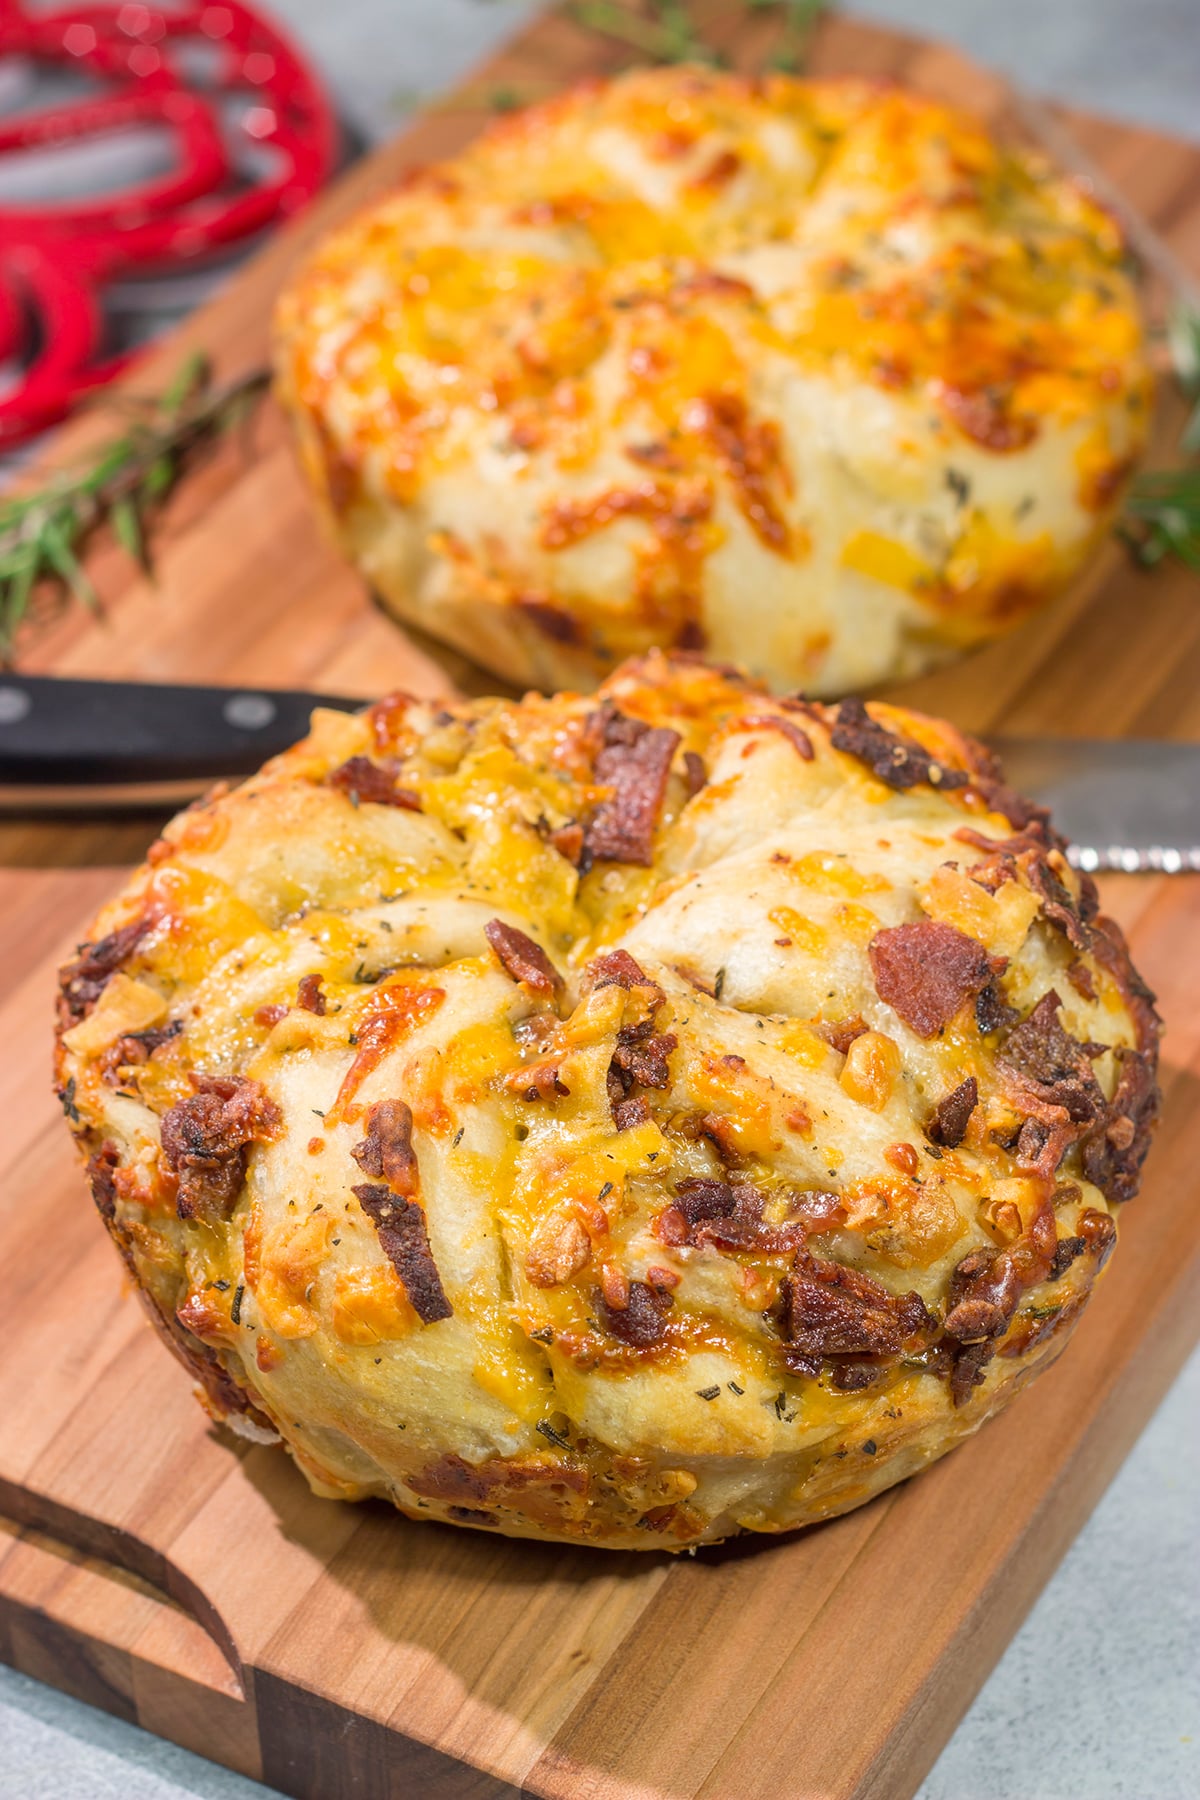
I always have a hard time deciding what flavor of bread to bake. Several years ago, I got into baking bread in a Dutch oven – talk about easy! The dough is no-knead, and the loaves come out perfectly crusty on the outside yet soft on the inside. Basically the perfect bread. But the problem comes when deciding what extra fun ingredients to include with that dough.
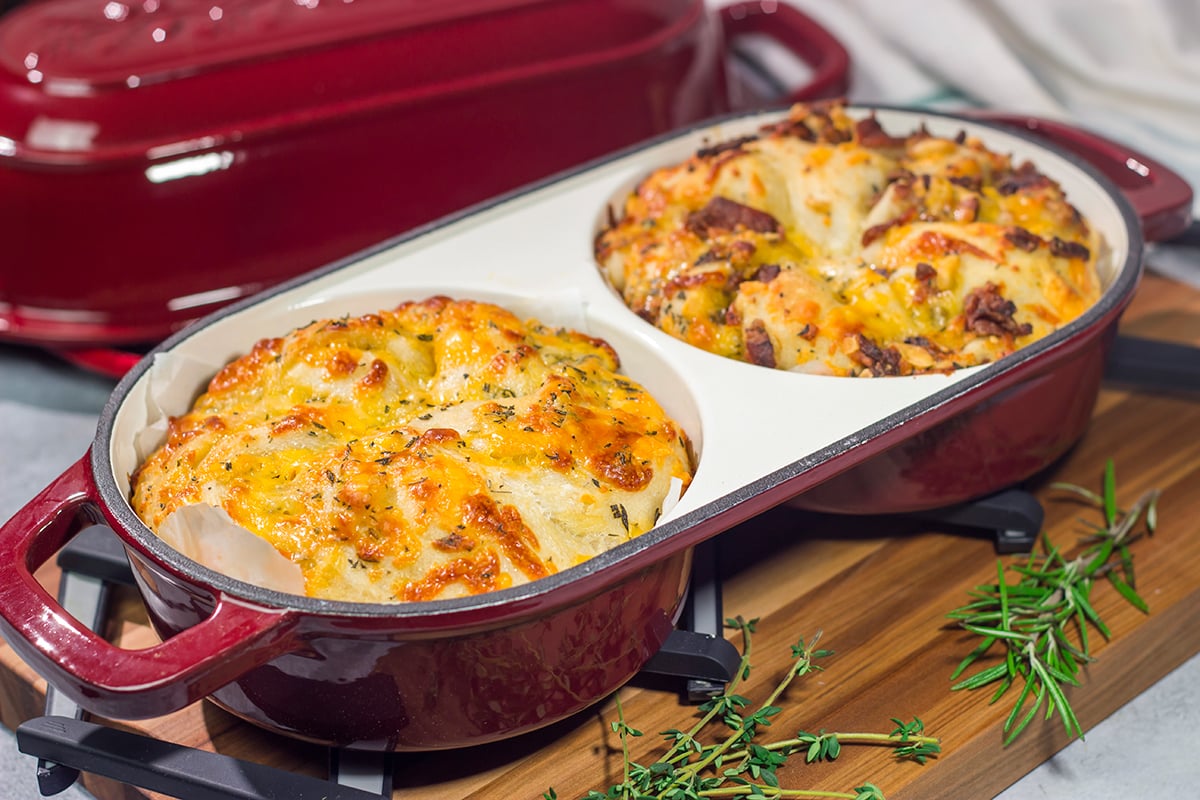
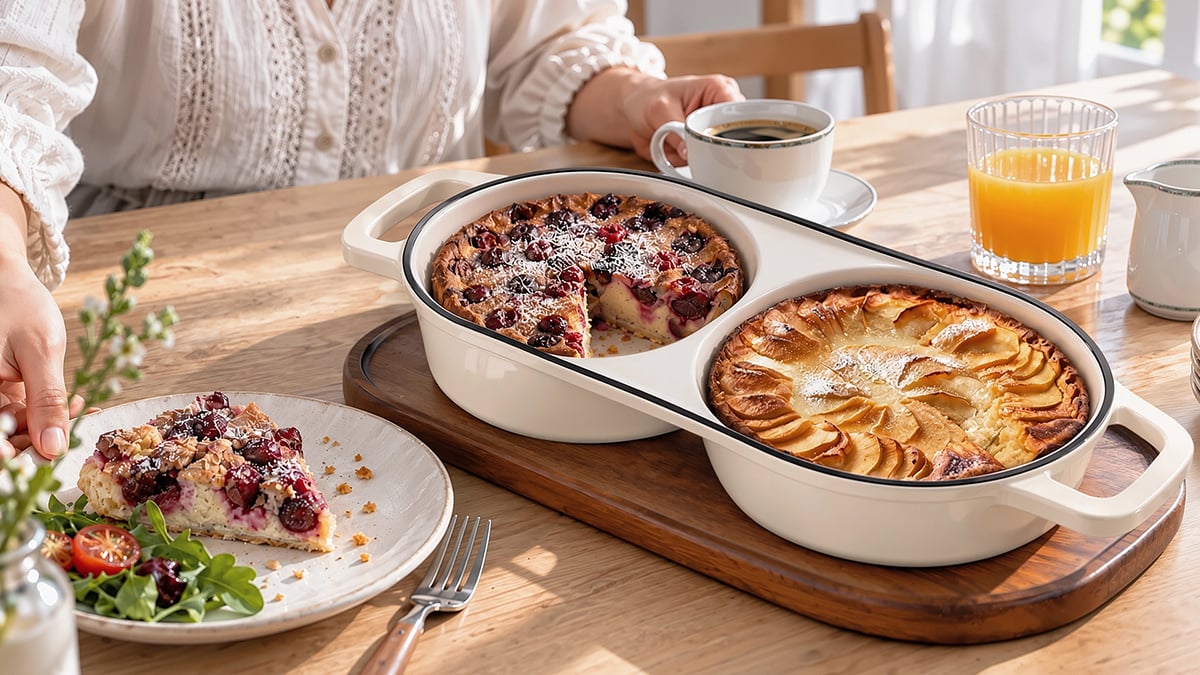
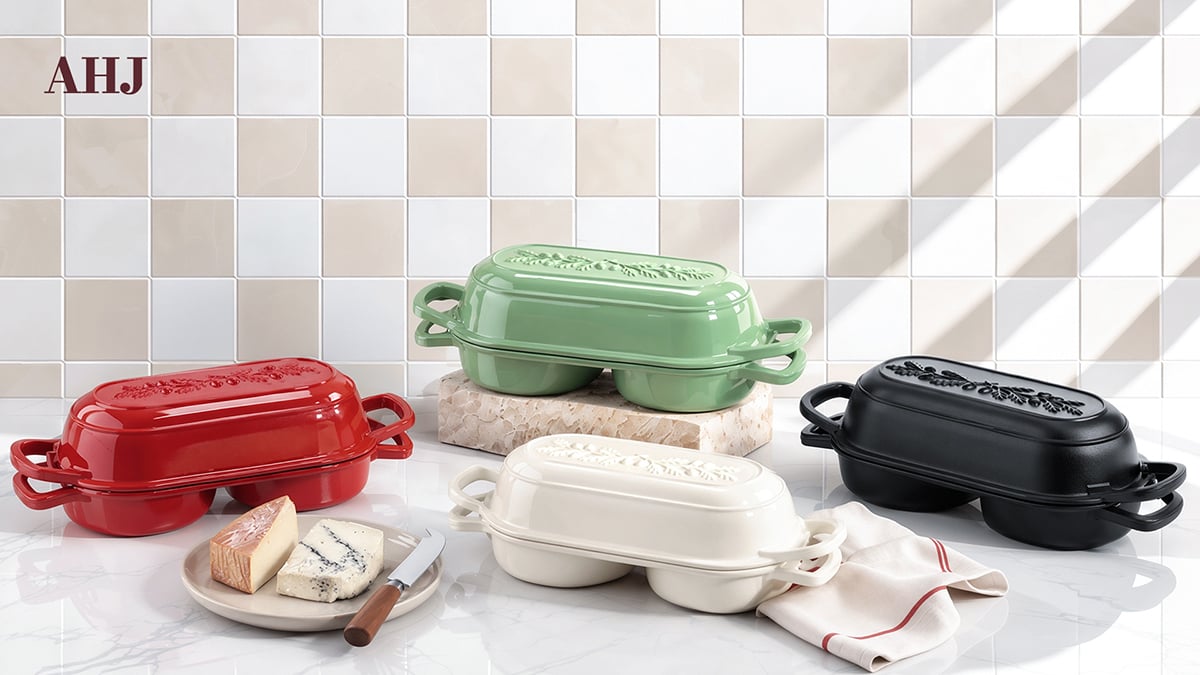
Over the years, I’ve used the same base recipe to make dozens of different flavors. Jalapeno. Cheddar. Herbs. Cranberries + Walnuts. Apples + Cinnamon. The list goes on…and on. Recently I discovered a new product from AHJ Home. A Double Dutch Oven. That’s right. A Dutch Oven designed to bake 2 loaves of artisan bread at once. Mind blown!
Roasted Garlic Cheddar Bread
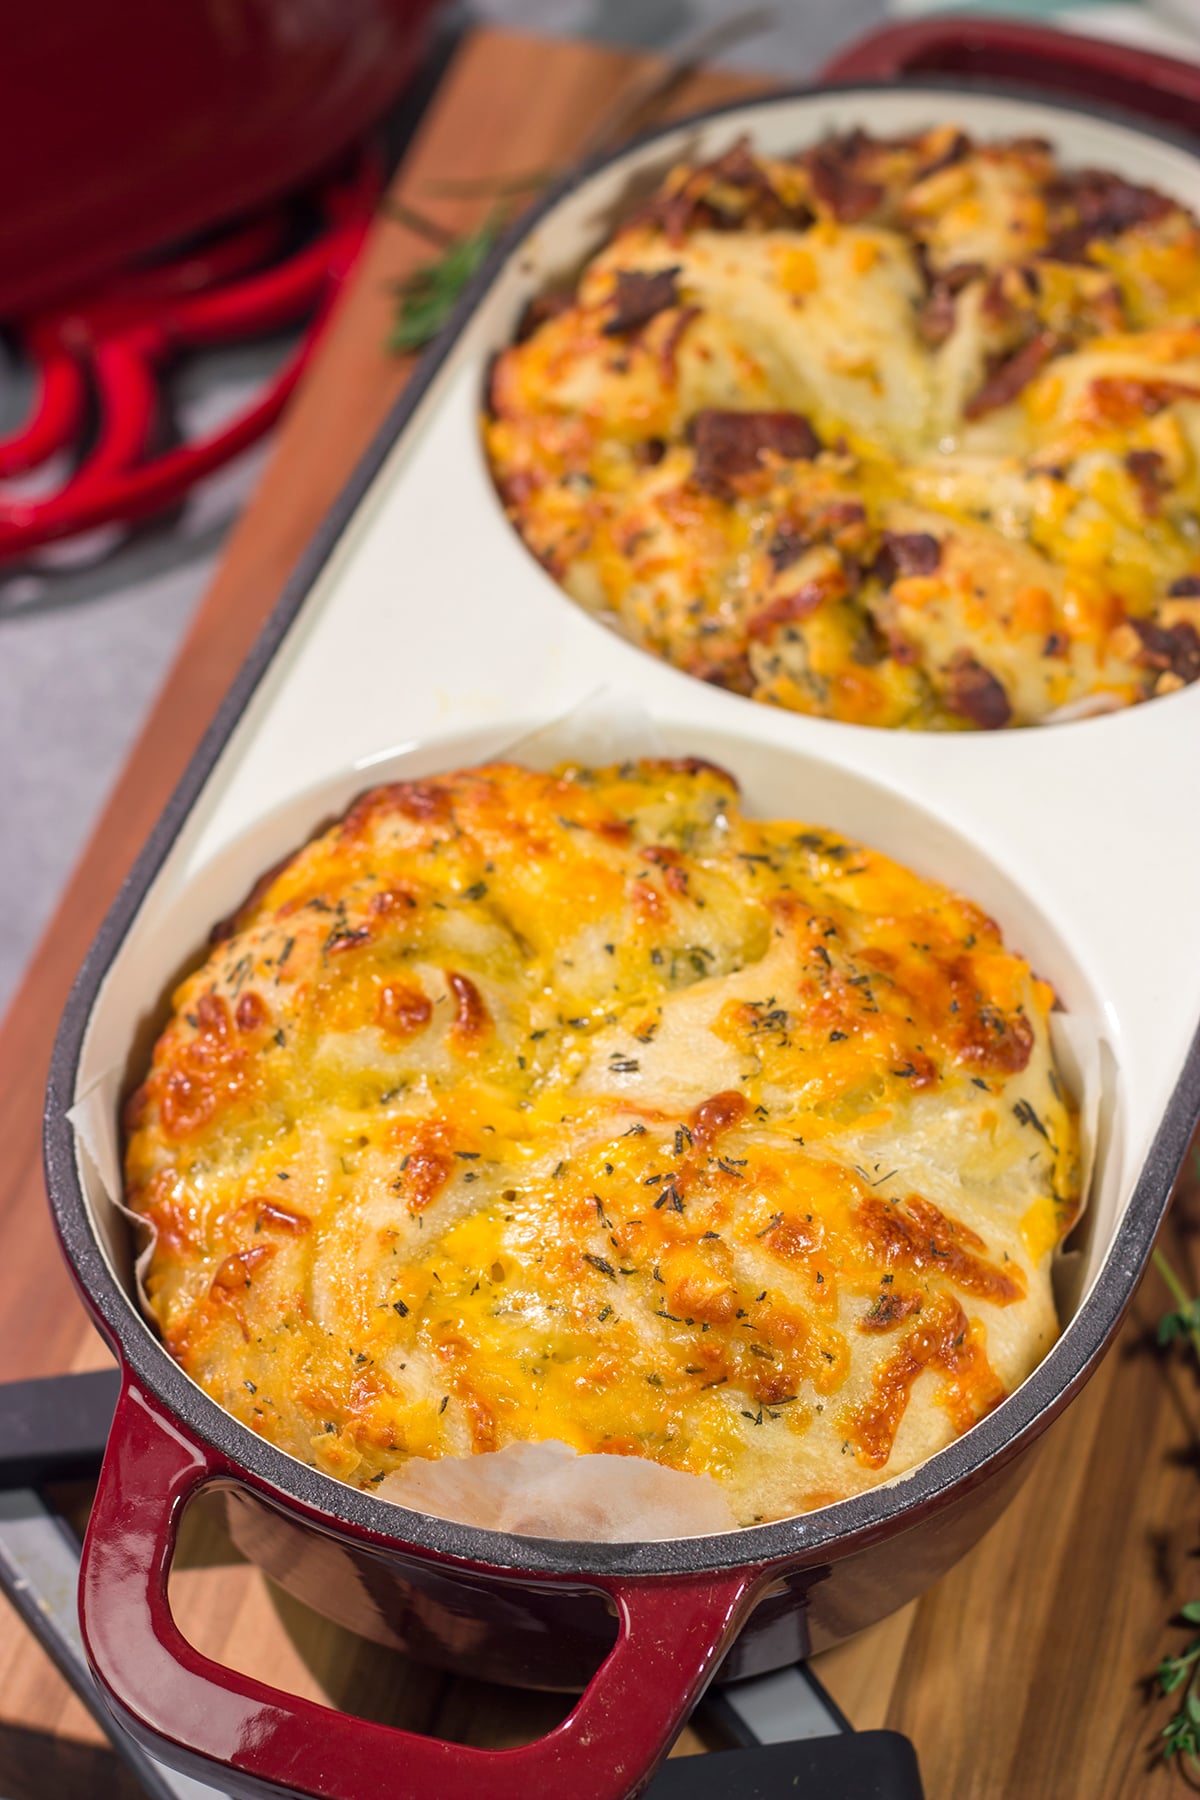
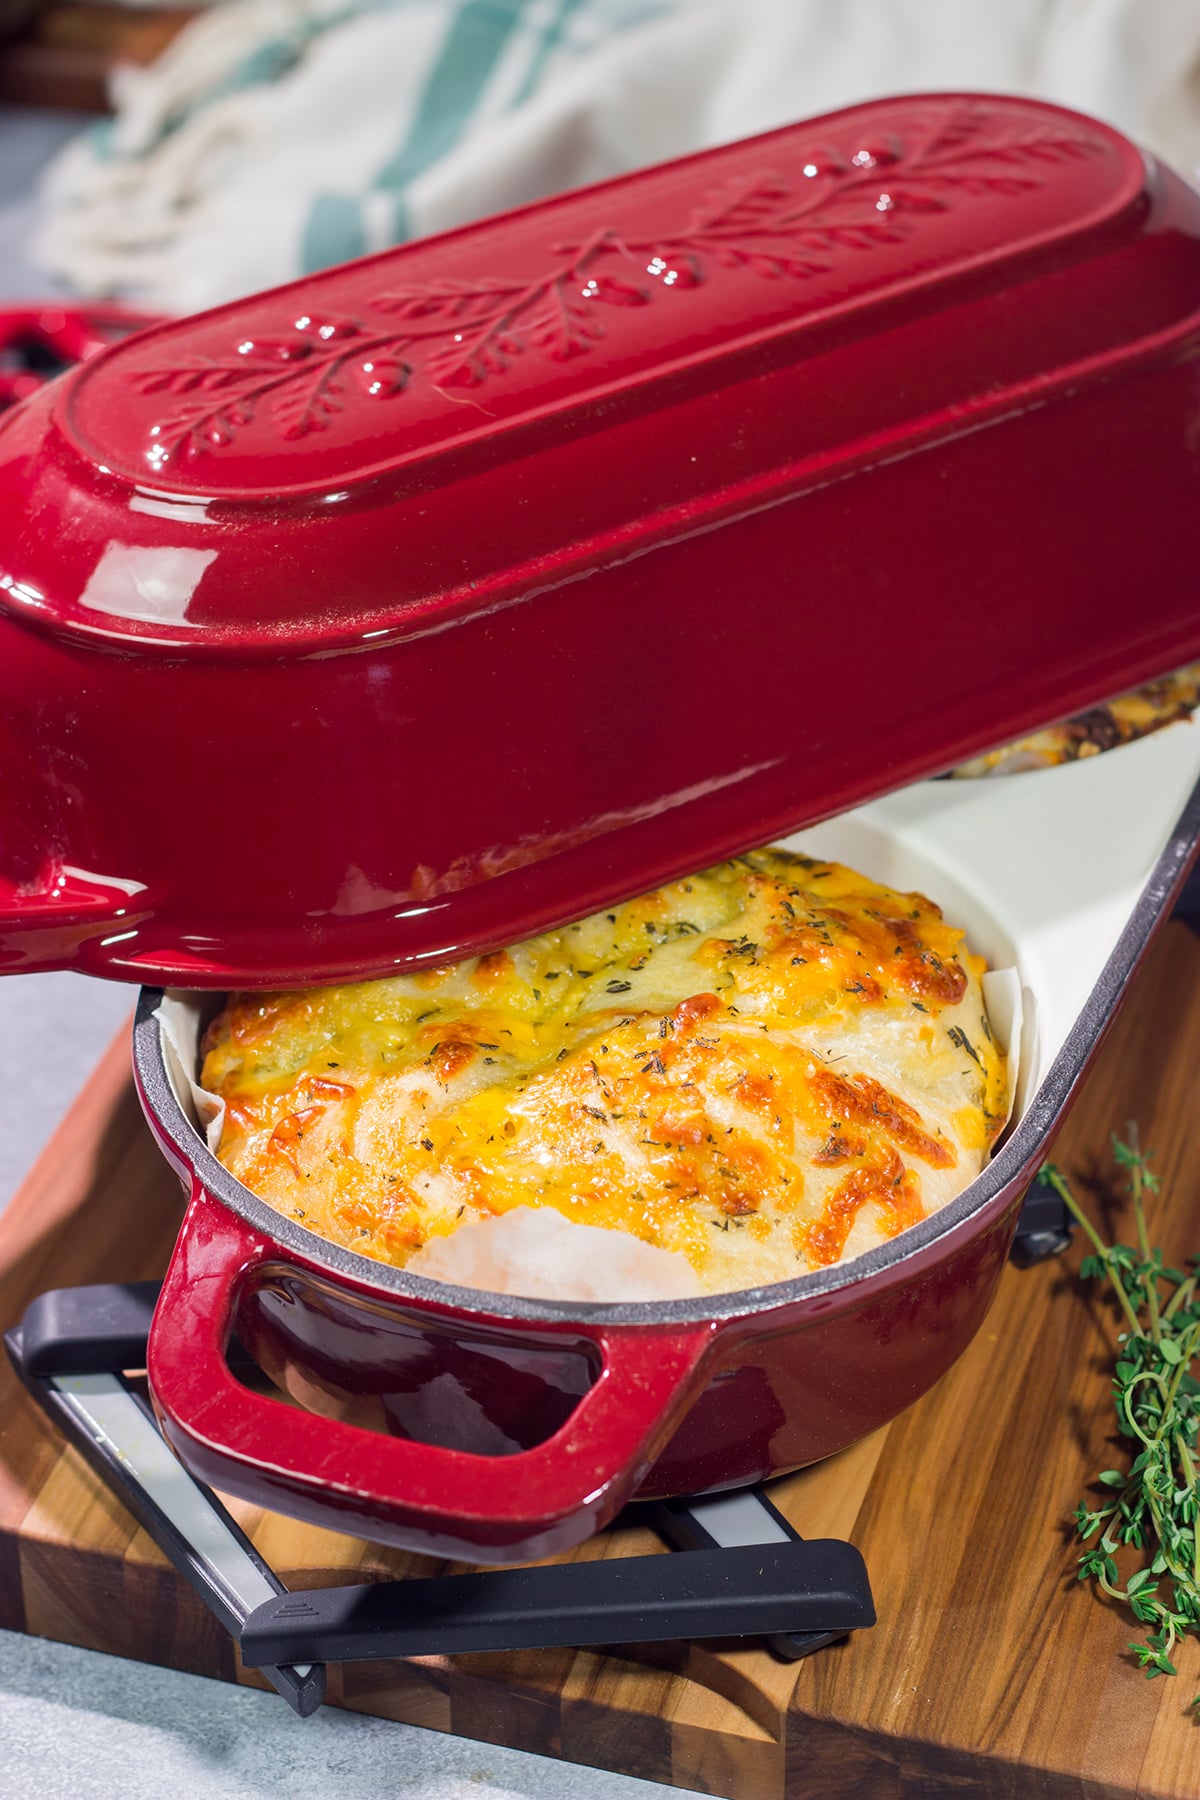
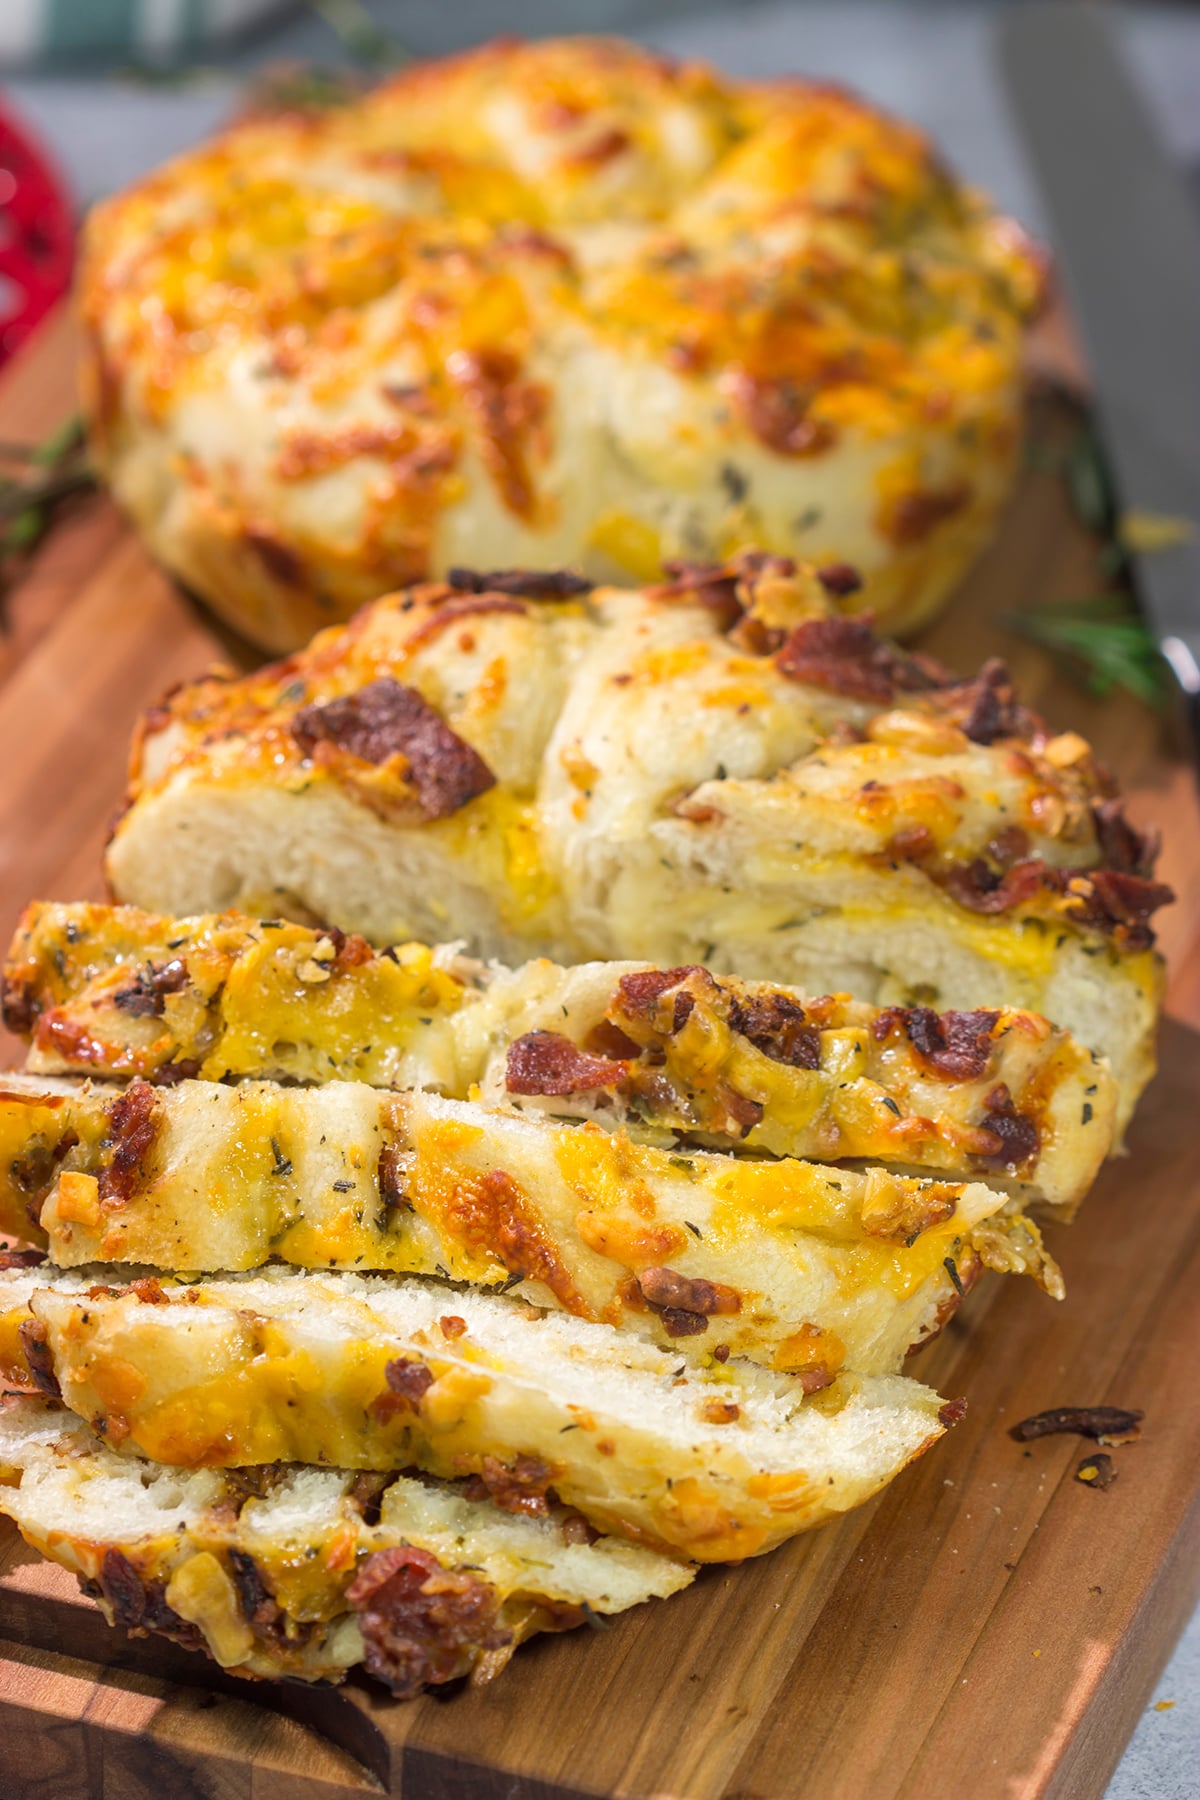
For my first round of bread using AHJ Homes’ Double Dutch Oven, I went with a classic savory flavor. Roasted garlic + cheddar cheese. I could’ve just made 2 smaller loaves, but then it hit me. Let’s add bacon to one loaf. Roasted garlic + cheddar cheese + crumbled bacon. Since the Double Dutch Oven allows you to bake 2 loaves at once, I made one loaf with bacon and one without. Both are delicious, and both are amazing alongside a hearty bowl of soup, stew or chili.
Why Use a Dutch Oven to Bake Bread
Using a Dutch oven to bake loaves of artisan bread is a game-changer. Seriously.
- Even Heat. The Dutch oven creates even heat which leads to consistent baking every time you bake a loaf.
- Steam. Commercial bread ovens have the ability to add steam to the oven while the bread bakes. Steam delays crust formation which allows the loaf to reach maximum volume while preventing the formation of a hard crust too early in the bake. Instead, steam creates a thin and crispy crust. Home ovens don’t have an easy way to add steam while baking, but a Dutch oven solves that problem. Since the bread is baked with the lid on, the Dutch oven traps the natural steam in a small, confined space.
- High Heat Retention. Cast iron stores and radiates a high amount of heat which in turn creates evenly baked loaves of bread that you’ll swear came from an artisan bakery!
- Easy Clean Up. Baking bread in an enamaled cast iron Dutch oven means clean up is a cinch. Just wipe out the inside of the Dutch oven, or if necessary let it soak for a few minutes in water. The Dutch oven will be ready for your next loaves!
Recipe Ideas for a Double Dutch Oven
Hopefully I’ve convinced you to use a Dutch oven for bread baking. But let’s take it a step further and look at some fun ideas for how to use AHJ’s Double Dutch Oven.
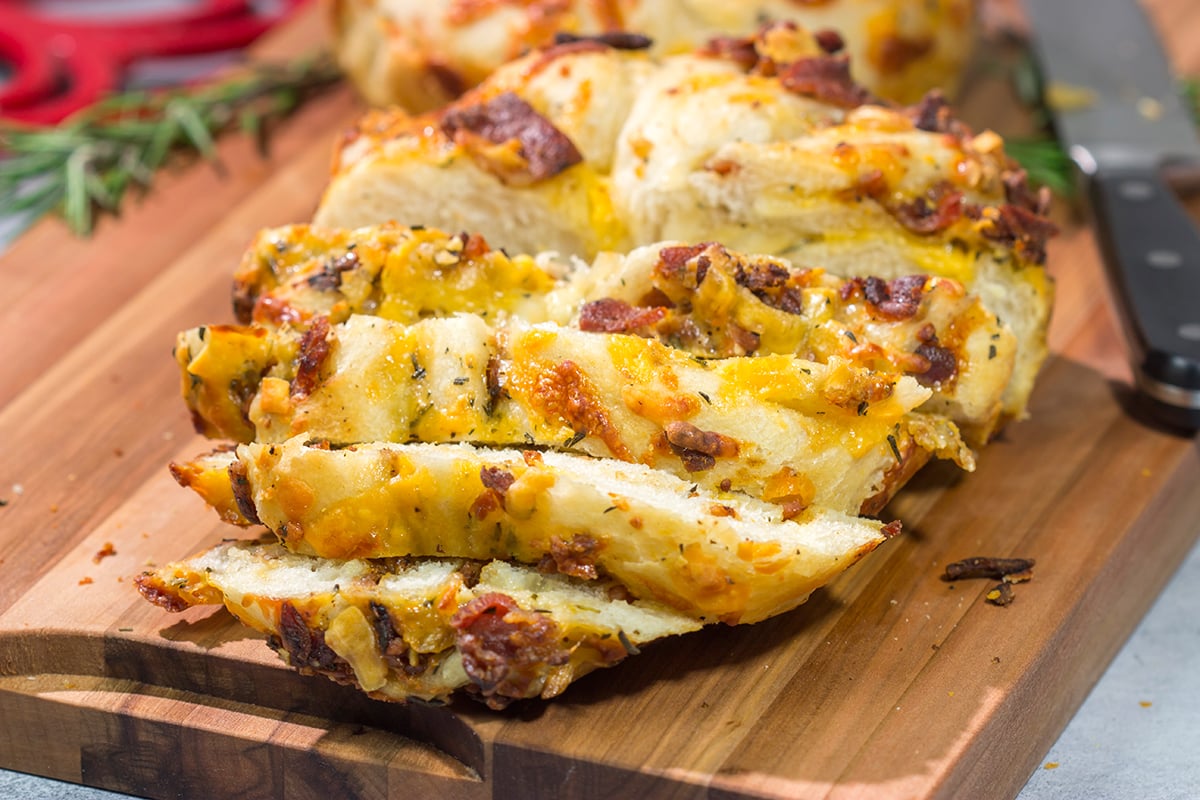
- Breads. As noted in this post, you could create 2 different flavors of bread at the same time. I added bacon to one loaf, but you could go with a classic plain artisan bread on one side and a loaded cheddar + bacon + garlic version on the other side. Or maybe go sweet + savory instead. Bake an herbed loaf on one side and a cinnamon swirl loaf on the other. Each loaf serves 2-3, so it’s perfect for dinner. The flavor combinations here are endless!
- Pot Pies. Chicken Pot Pie on one side. Beef Pot Pie on the other. Or chicken + vegetable. Or chicken pot pie + shepherd’s pie. Or any other combination of flavors you can imagine. Each pot pie serves 2, so this is great for a family where different folks prefer different flavors.
- Lasagnas. The Double Dutch Oven can be used to bake 2 different flavors of lasagna. Perhaps one version with meat and one without? Or a traditional lasagna with tomato-based sauce on one side and an alfredo sauce on the other side.
- Cobblers and Crisps. Don’t forget about dessert! What about an apple cobbler on one side and a mixed berry version on the other? Of course, vanilla ice cream would be a requirement for both!
Ingredients for Roasted Garlic Cheddar Bread
While all of the brainstorming is fun, let’s turn our attention back to this Roasted Garlic Cheddar Bread. Here’s what you’ll need to make 2 loaves:
- Water and Active Dry Yeast. The warm water “wakes up” the yeast to start the rising process.
- All-Purpose Flour. When measuring the flour, spoon it from the bag and then transfer it into the measuring cup. Level the top of the cup with a butter knife.
- Salt. A bit of salt slows down the fermentation of the bread which allows the loaves to develop deeper flavor.
- Cheese. I opted for a combination of sharp cheddar cheese and mozzarella cheese. Feel free to substitute other cheeses!
- Fresh Herbs. A sprinkling of freshly chopped herbs adds a wonderful background flavor to the bread. Any combination of basil, oregano, thyme, rosemary, etc. would work well.
- Bacon. Cooked, crumbled bacon gets mixed directly into the bread dough.
- Roasted Garlic. Instead of raw garlic, we’re using roasted garlic. Roasting garlic at home is easy, but you can often find cloves of roasted garlic on the olive bar at larger grocery stores.
How to Bake Dutch Oven Bread
Baking bread in a Dutch oven is easy!
- Combine the Dough Ingredients. Using a mixing bowl and a wooden spoon, combine all of the basic dough ingredients. We’ll be saving the fun mix-ins for later.
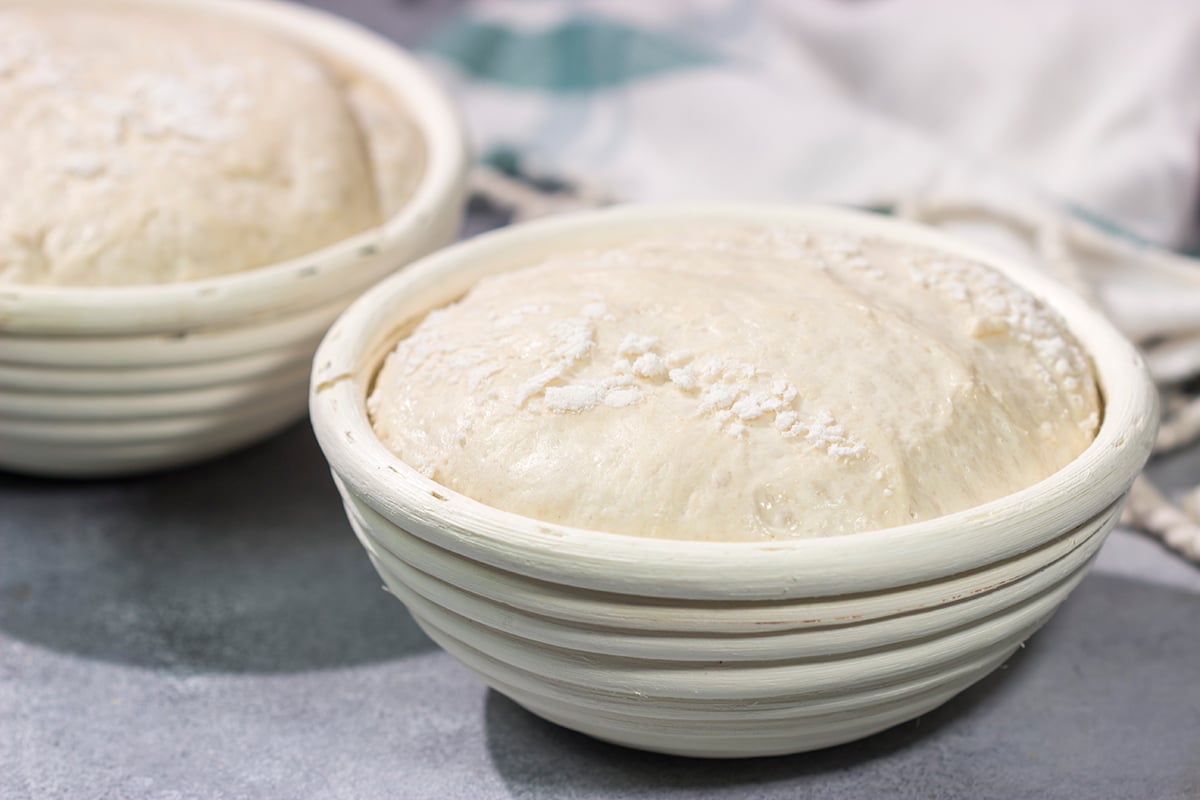
- Let It Rise. Put the dough in an oiled bowl, cover it and leave the bowl in a warm spot for ~1½ hours. Tip: Let the dough rise in the oven with just the oven light on. That creates a nice warm spot for the bread to rise. Just make sure to pull the bowl out before you preheat the oven.
- Press Out Air. Turn the dough out onto a floured countertop and press out all of the air. Fold the dough into thirds just like folding a letter. Place dough back in the bowl. If making two loaves in the Double Dutch Oven, divide the dough into 2 pieces at this stage.
- Let It Rise (Again). Let the dough rise again – this time for ~1 hour.
- Twist it Up. If making a twisted bread like this Roasted Garlic Cheddar version, shape each piece of dough into a rectangle. Add all of the mix-ins like cheese + bacon + roasted garlic. Cut the rectangle in half and twist the two pieces over each other. Bring the two ends together, pinching the dough to seal.
- Let It Rise (Last Time). While the oven is preheating, let the shaped loaves rise one more time for ~30 minutes.
- Bake. Bake it in the covered Dutch oven, but remove the lid for the last ~10 minutes to allow the bread to develop a golden brown crust on top.
- Let It Cool. Perhaps the hardest step of baking homemade bread. Make sure to let the bread cool before slicing it!
Storing Leftovers
Leftover bread should be allowed to cool completely before being stored in an airtight container at room temperature for up to 3 days. If the bread includes fresh ingredients (like cheese and bacon), it should be stored in the refrigerator. Reheat the bread in a toaster oven before serving. This bread also freezes well. Just store the cooled loaf in a freezer bag for up to 3 months. Let the bread thaw before reheating.
If you’re looking for a fun way to bake artisan bread at home, then grab one of AHJ’s Double Dutch Ovens. The size of the two cavities is perfect for smaller loaves of bread. In fact, these loaves could be used as bread bowls for soups or dips. Don’t be surprised if you see bread bowls pop up here soon! I hope you enjoy this bread as much as we did here – Happy Baking!
Did you bake this Roasted Garlic Cheddar Bread recipe at home? Leave a comment, or snap a photo and tag me (@Spicedblog) and AHJ Home (@AHJHome) on Instagram – we’d love to see your creations!
Roasted Garlic Cheddar Bread
Ingredients
- 1 cup warm water
- 1 tsp active dry yeast
- 2¼ cups all-purpose flour plus more for rolling
- ¾ tsp salt
- 1 cup shredded sharp cheddar cheese
- 1 cup shredded mozzarella cheese
- 1 Tbsp chopped fresh herbs oregano, rosemary, thyme, basil, etc.
- 4 pieces bacon cooked and crumbled
- 8 cloves roasted garlic chopped and divided
- cornmeal for dusting parchment paper
Instructions
- Using a small bowl, add warm water and yeast; stir until well combined. (Note: The water should be warm to the touch, but not hot.) Let mixture sit for 5 minutes.
- Using a large mixing bowl, add flour and salt; stir until well combined.
- Pour yeast mixture into mixing bowl; stir with a wooden spoon until well combined. (Note: The dough should come together. It will be slightly sticky, but if the dough stubbornly sticks to the side of the bowl, add 2-3 more tablespoons of flour. If dough feels too dry, add 1 more tablespoon of water.)
- Cover bowl and let dough rise in a warm location until it approximately doubles in size (~1½-2 hours).
- Transfer dough to a floured work surface. Divide dough into 2 equal pieces.
- Pat each piece of dough out into a flat disc. Fold dough into thirds, similar to how you might fold a letter. Rotate dough 90° and repeat process.
- Lightly flour two proofing baskets or drizzle oil inside of two bowls. Place dough into bowls, cover and let rise in a warm location until approximately doubled in size (~1-1½ more hours).
- Transfer dough back to a floured work surface. Gently press each piece of dough into a 8”x12” rectangle.
- Using a small bowl, combine, shredded cheddar, shredded mozzarella and chopped herbs.
- Divide cheese mixture in half and sprinkle evenly on top of each piece of dough.
- Sprinkle cooked and crumbled bacon evenly on top of one piece of dough.
- Working with one piece of dough at a time, start with a long edge and roll dough into a tight log. Pinch edges to seal dough together.
- Using a sharp knife, slice the dough in half lengthwise, leaving a small 2” piece intact on one end.
- Rotate the halves so that the cheese filling is facing up. Spread half of the roasted garlic evenly on top of dough.
- Carefully twist the two halves around each other, keeping the filling side up the whole time. (Note: This step will be a bit messy as some of the filling will fall out. Just finish the braid and then press the extra filling back on top.)
- Bring the two ends of the braided rectangle together to create a circle. Pinch dough together.
- Repeat process with the other piece of dough, omitting the bacon from this loaf.
- Generously sprinkle cornmeal onto a piece of parchment paper. Place each piece of dough onto parchment paper. Lower dough (on the parchment paper) back into floured proofing baskets or oiled bowls.
- Cover bowls and let dough rest for 30-40 minutes at room temperature.
- Meanwhile, preheat oven to 400°F. Place the double Dutch oven into the oven as it preheats.
- Remove double Dutch oven from oven.
- Lift parchment paper with dough on it out of bowls and carefully lower each into the hot Dutch oven.
- Cover Dutch oven and place in oven. Bake for 35 minutes.
- Remove lid and continue baking for 5-10 more minutes or until top of bread is golden brown in color. (Tip: If you have an instant read thermometer, remove the bread from the oven once it reaches 200°F.)
- Let bread cool before slicing.
Looking for more homemade bread recipes? Check out these other favorites, too:


Spiced® is a participant in the Amazon Services LLC Associate Programs and other affiliate services. This means that spicedblog.com receives a small commission by linking to Amazon.com and other sites at no cost to the readers.