Skip to content
Facebook
Twitter
Instagram
Pinterest
RSS
New to Spiced? Start Here...
FAVORITES
Home
Blog
About
Press & Awards
Contact
Search for:
Search
Method
Expand
Casseroles
Cast Iron
Grilled
Sheet Pan
Slow Cooker
Course
Expand
Appetizers
Breakfast
Lunch
Side Dishes
Soups
Dinner
Desserts
Drinks
Type
Expand
Beef
Burgers and Sandwiches
Chicken
Pizza
Pasta
Italian
Seafood
Tacos
Occasions
Expand
Christmas
Super Bowl
Valentine’s Day
Mardi Gras
Cinco de Mayo
4th of July
Halloween
Thanksgiving
Favorites
All Recipes
Search
Toggle Menu
Recipes
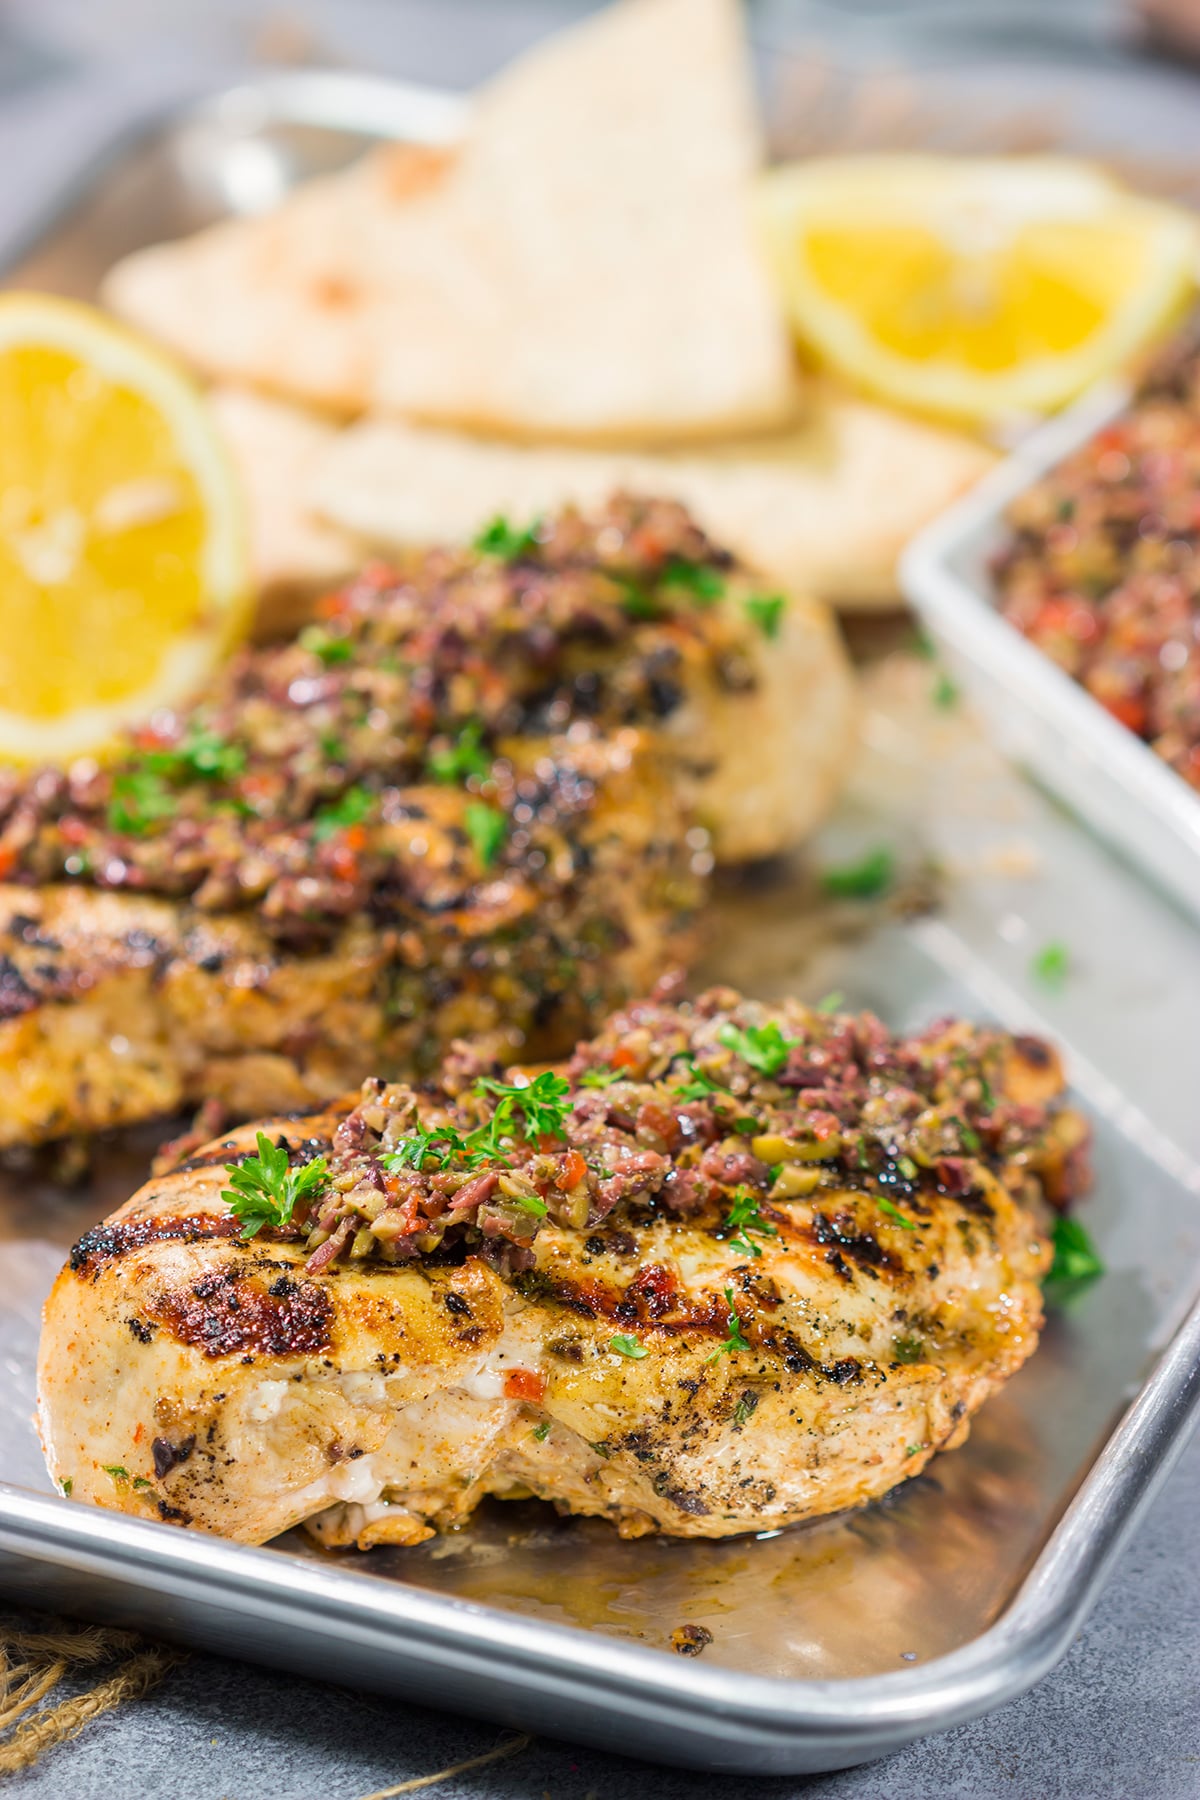
Grilled Greek Chicken
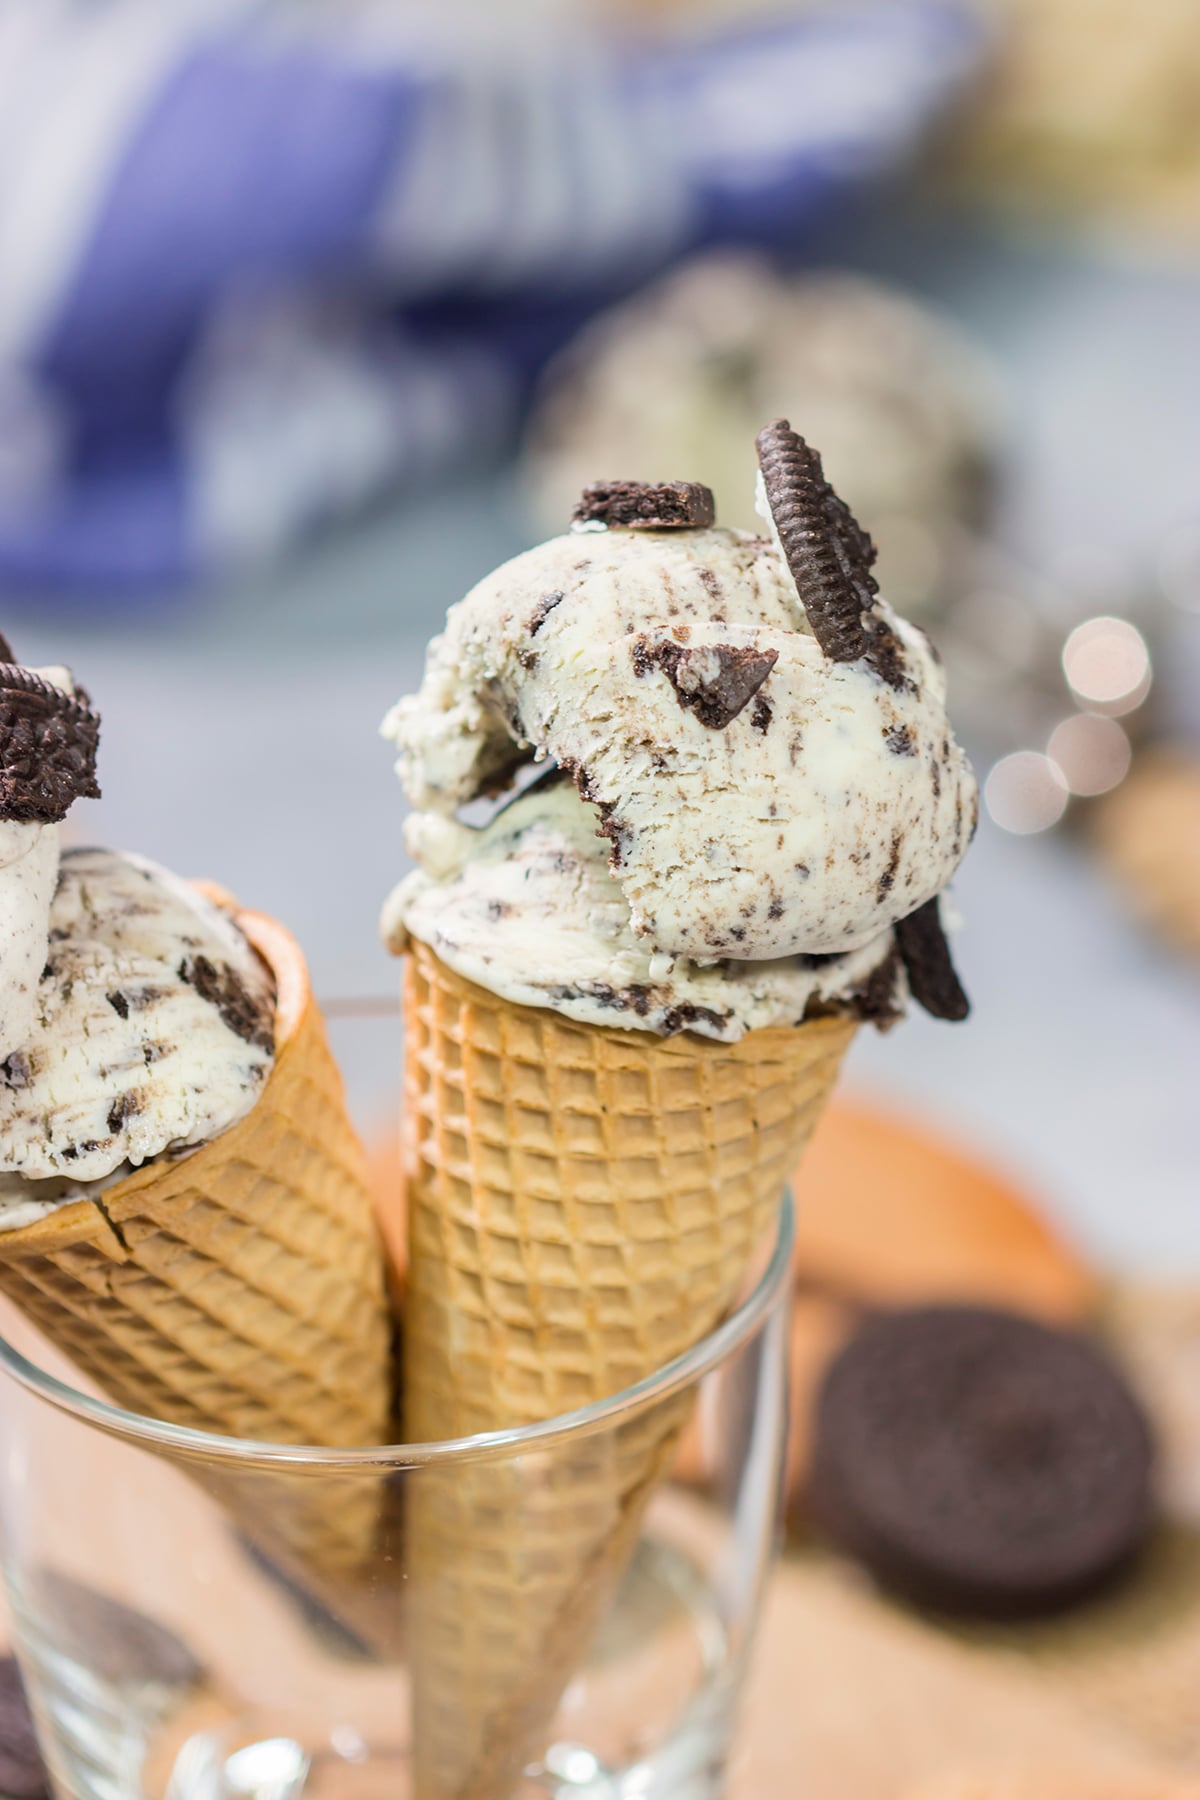
Cookies and Cream Ice Cream
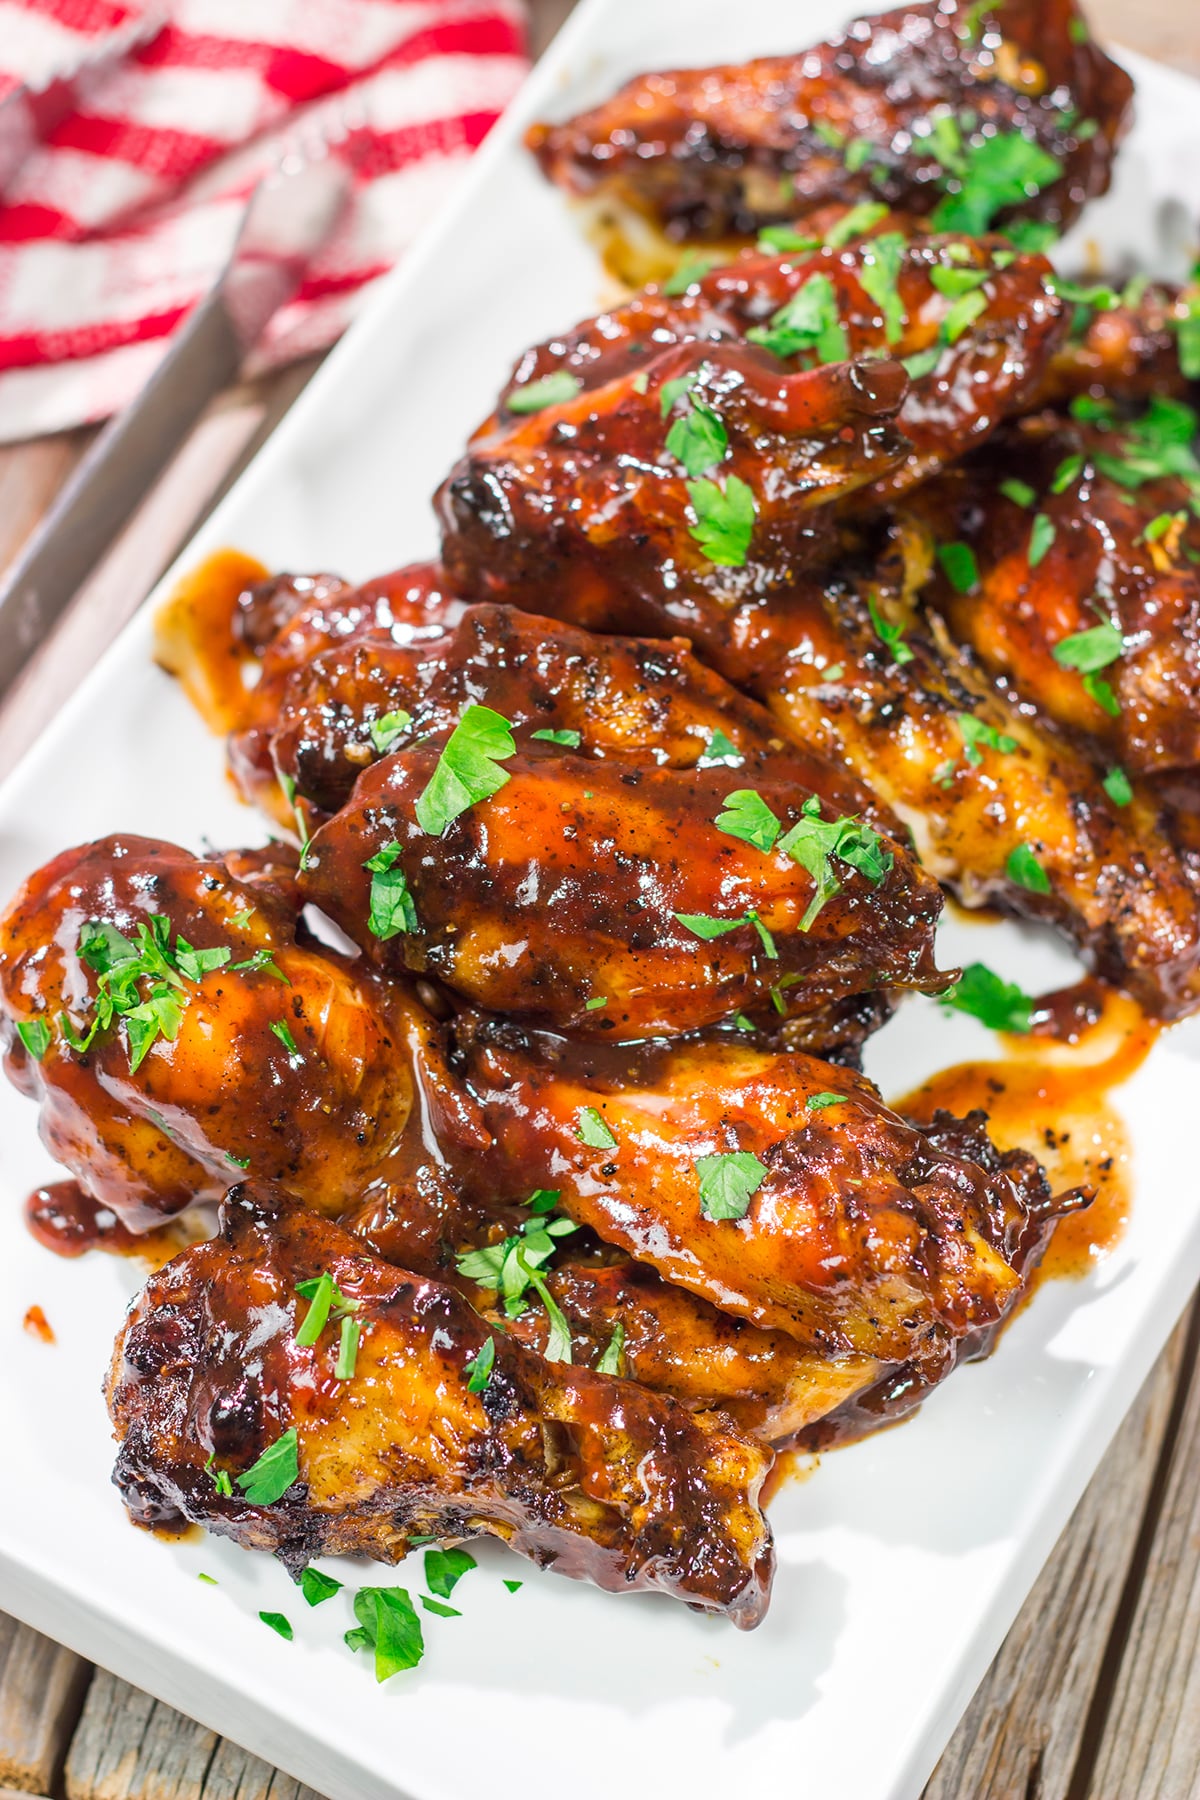
Grilled BBQ Wings
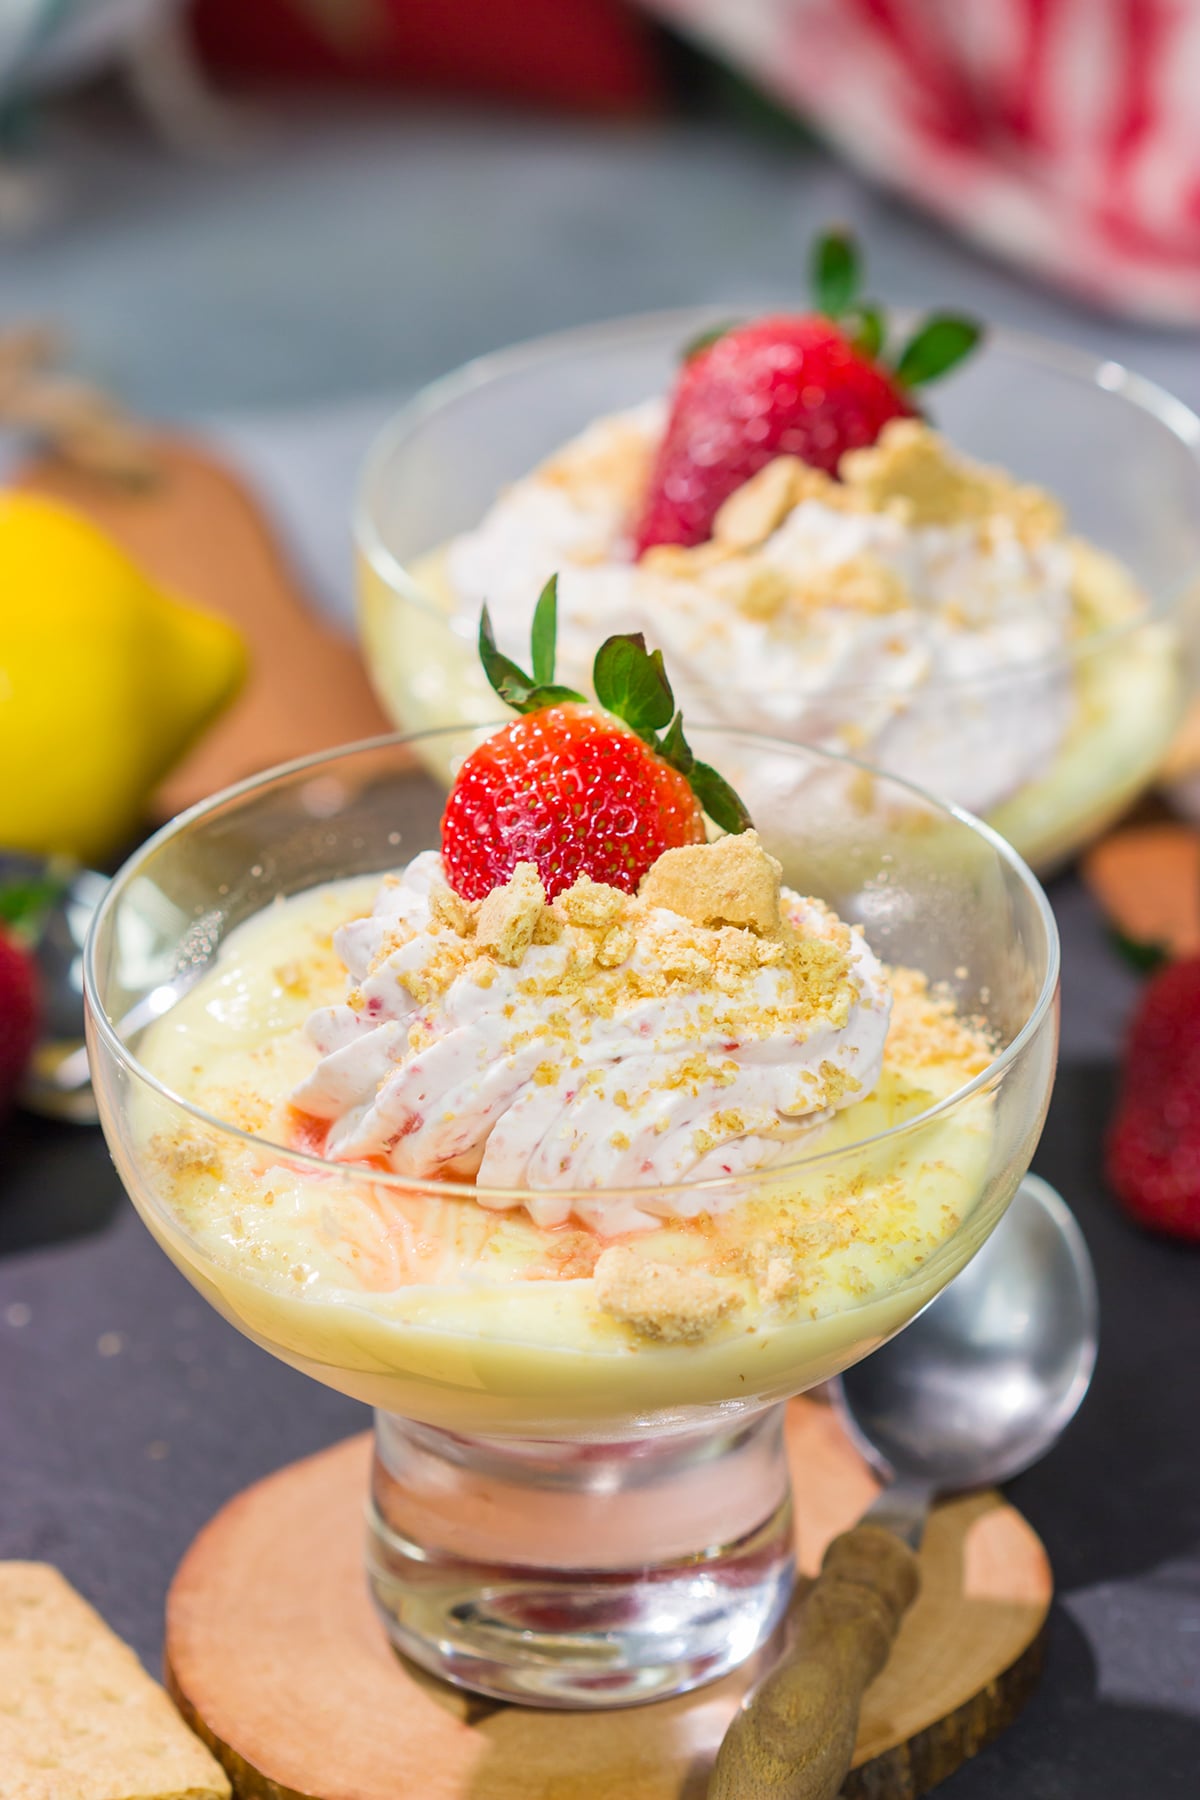
Lemon Strawberry Pudding
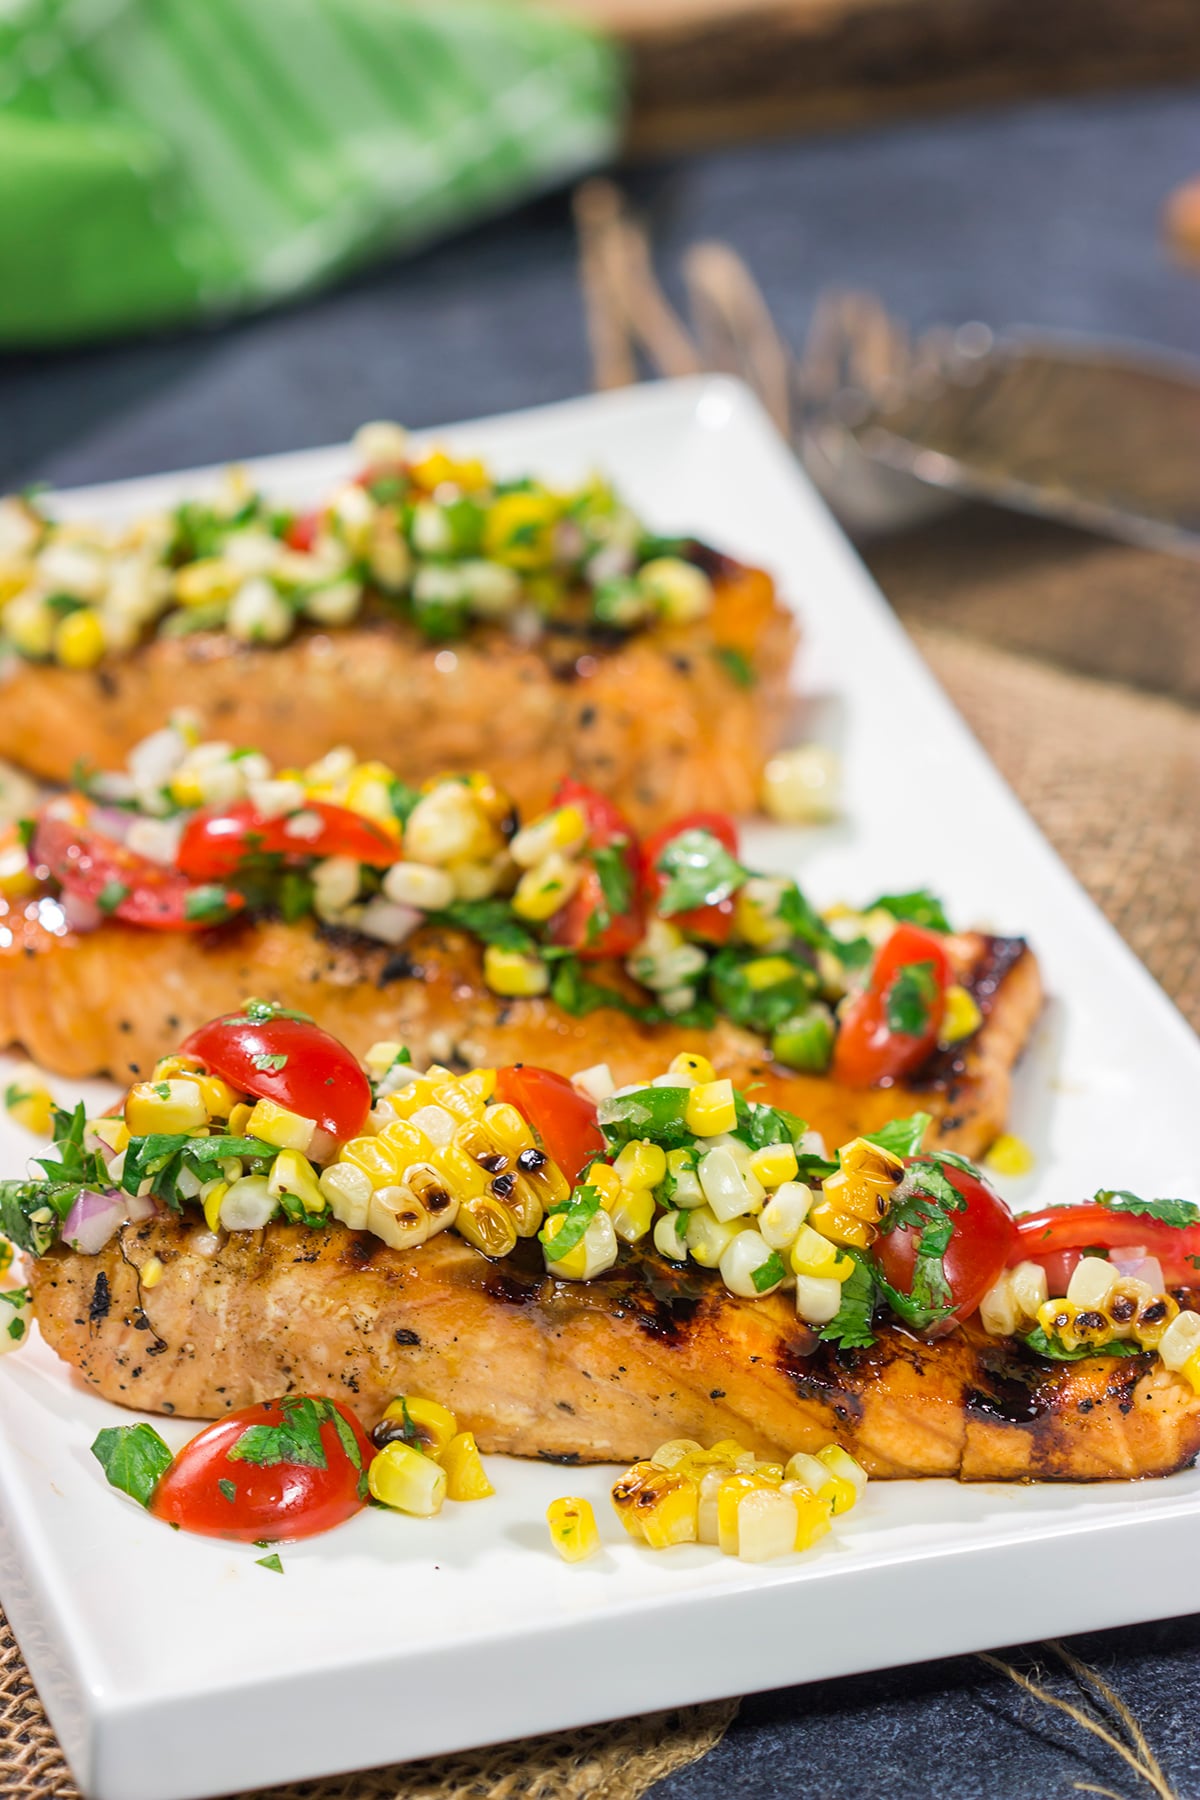
Grilled Salmon with Corn Salsa
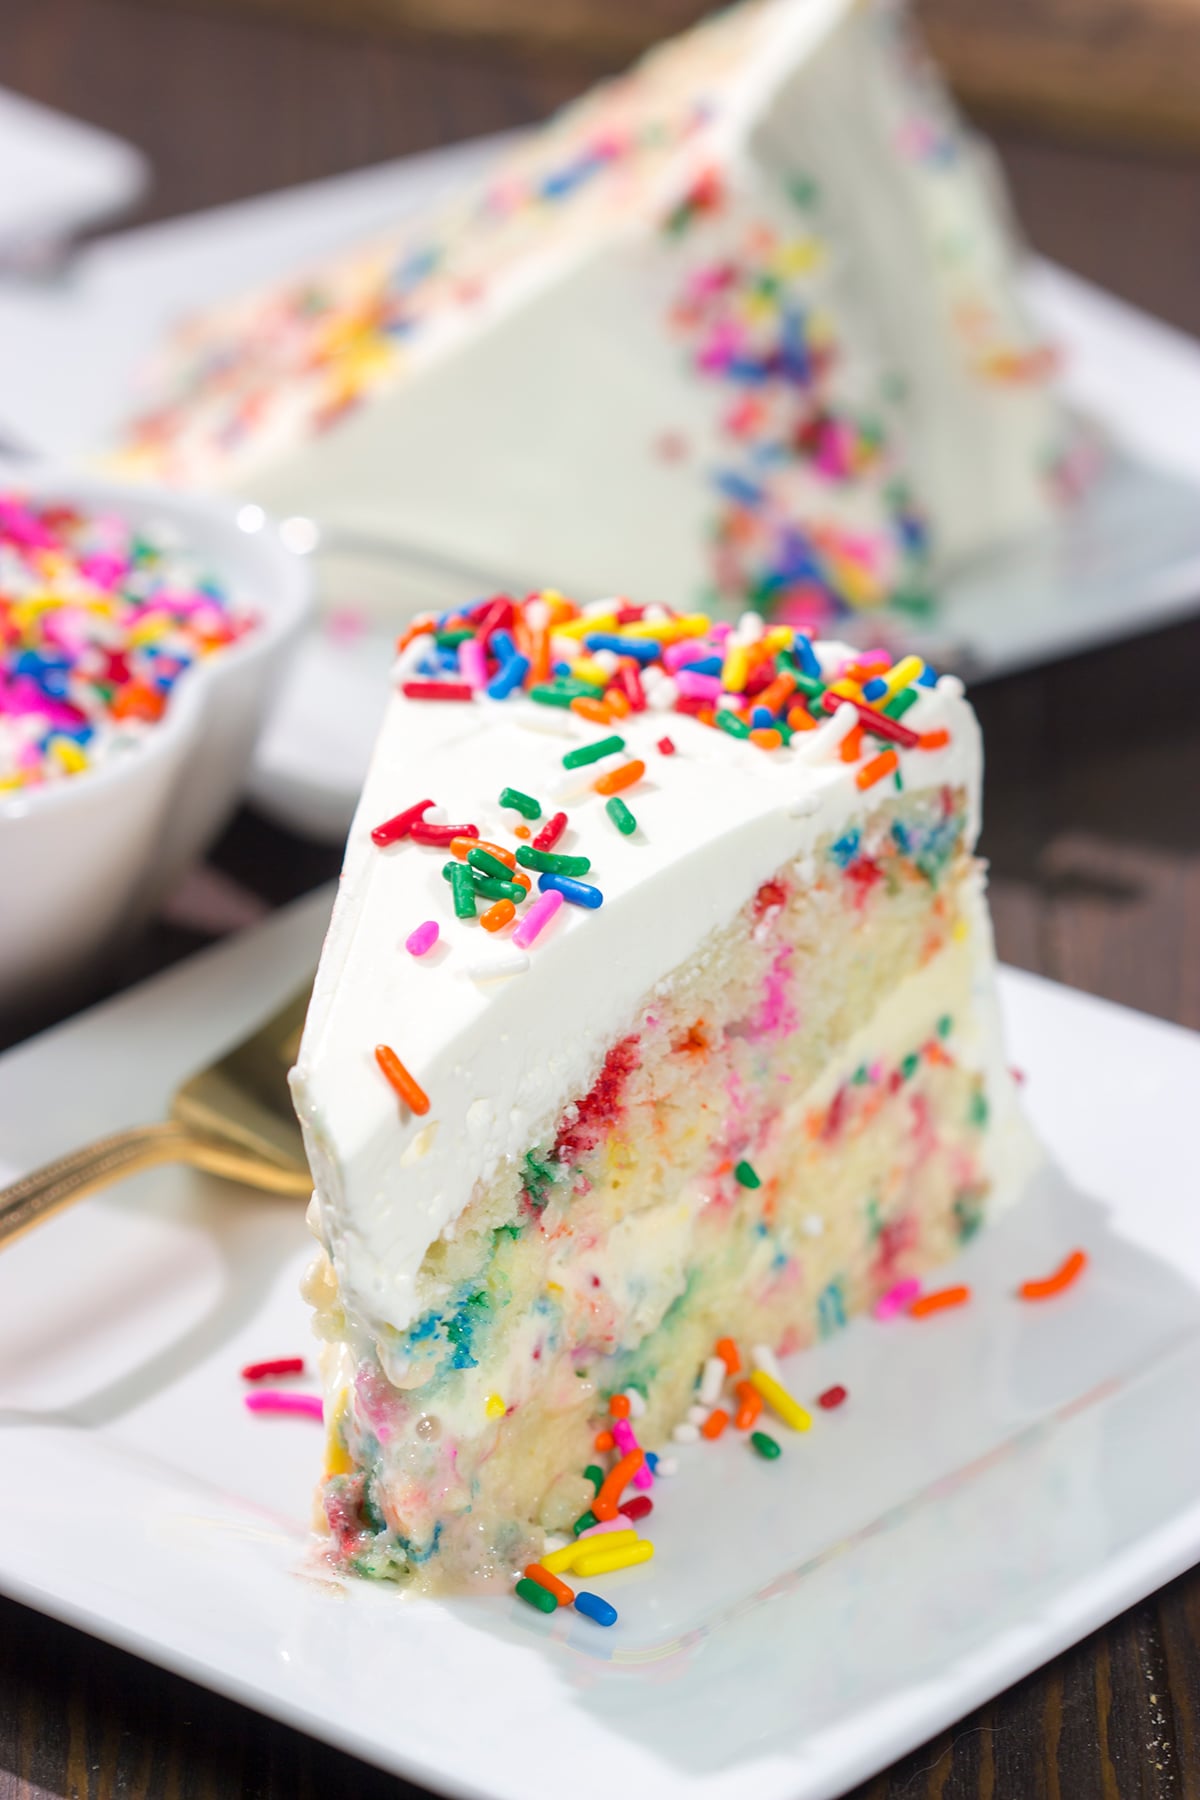
Funfetti Ice Cream Cake
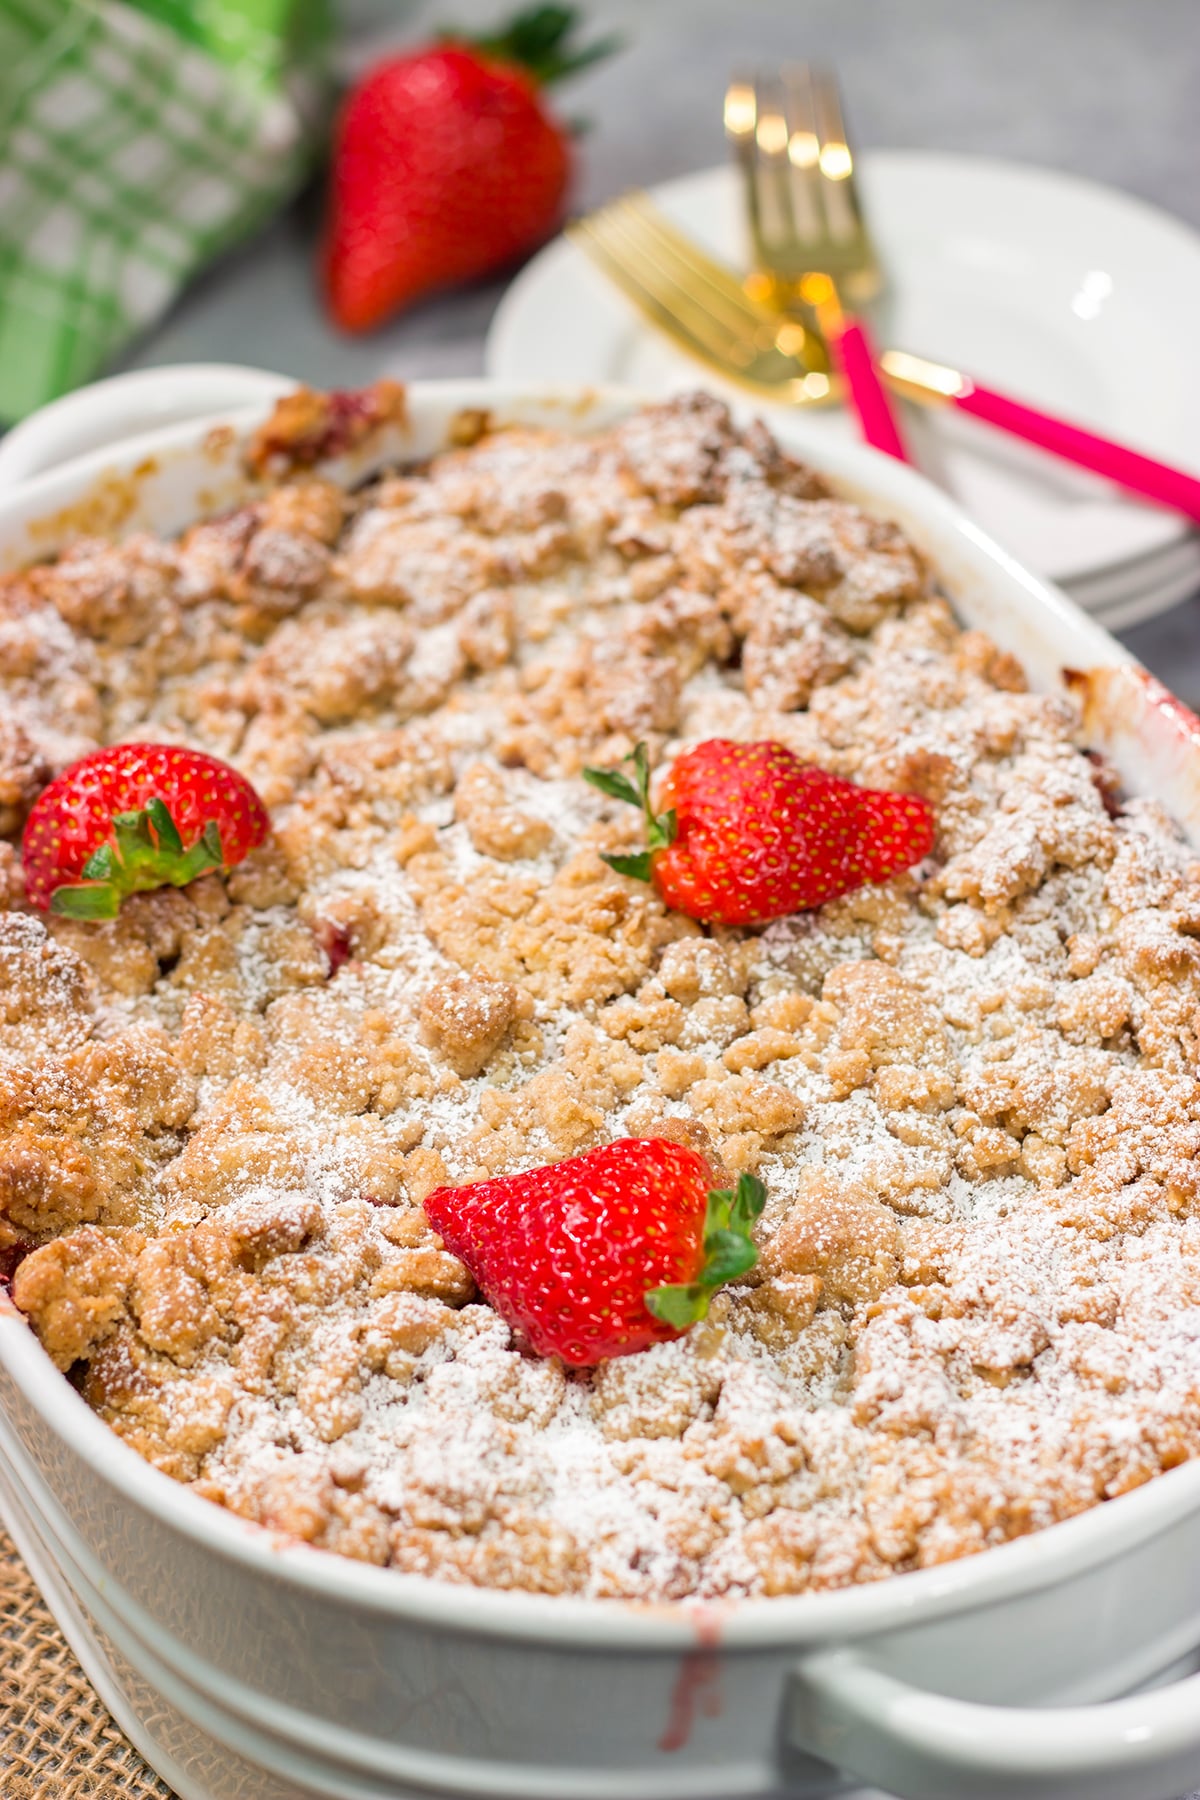
Strawberry French Toast Bake
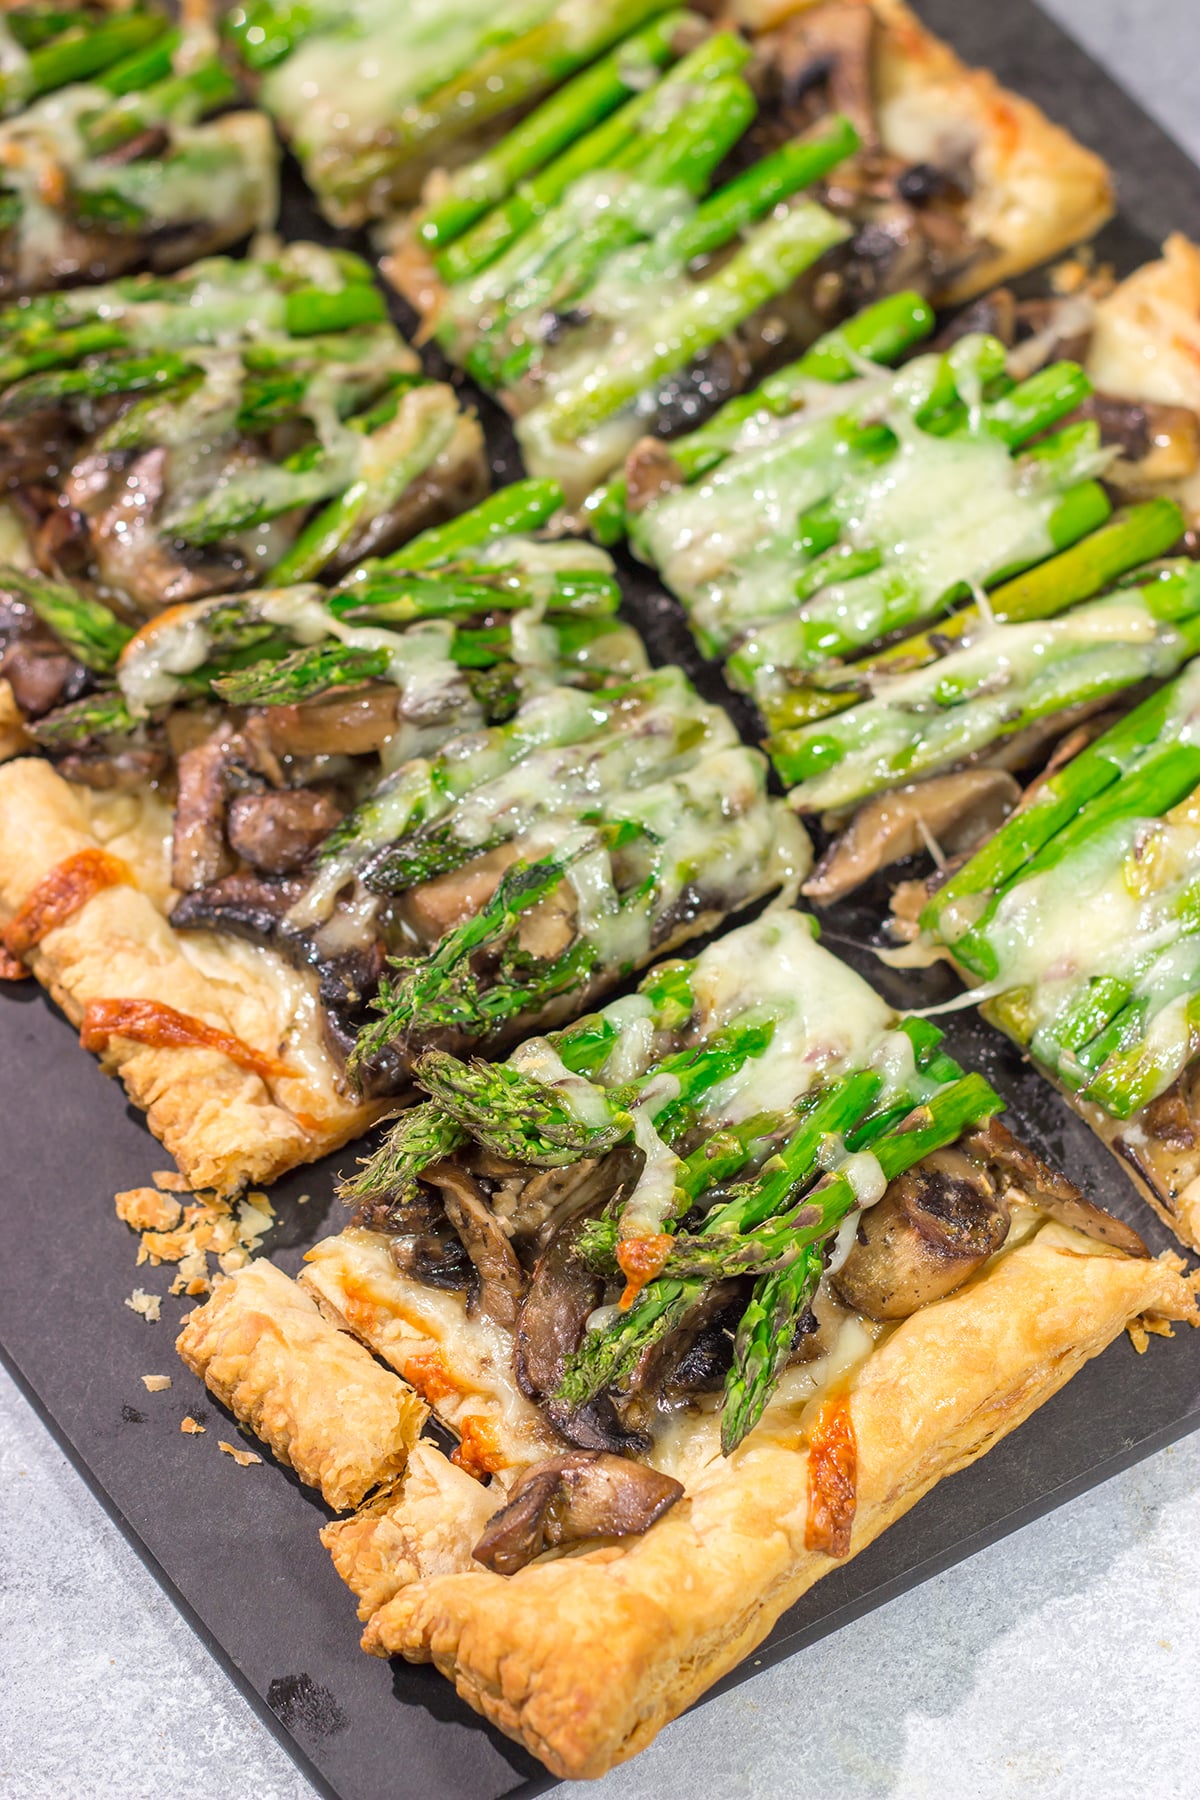
Cheesy Mushroom Asparagus Tart
Cornflake Cookies
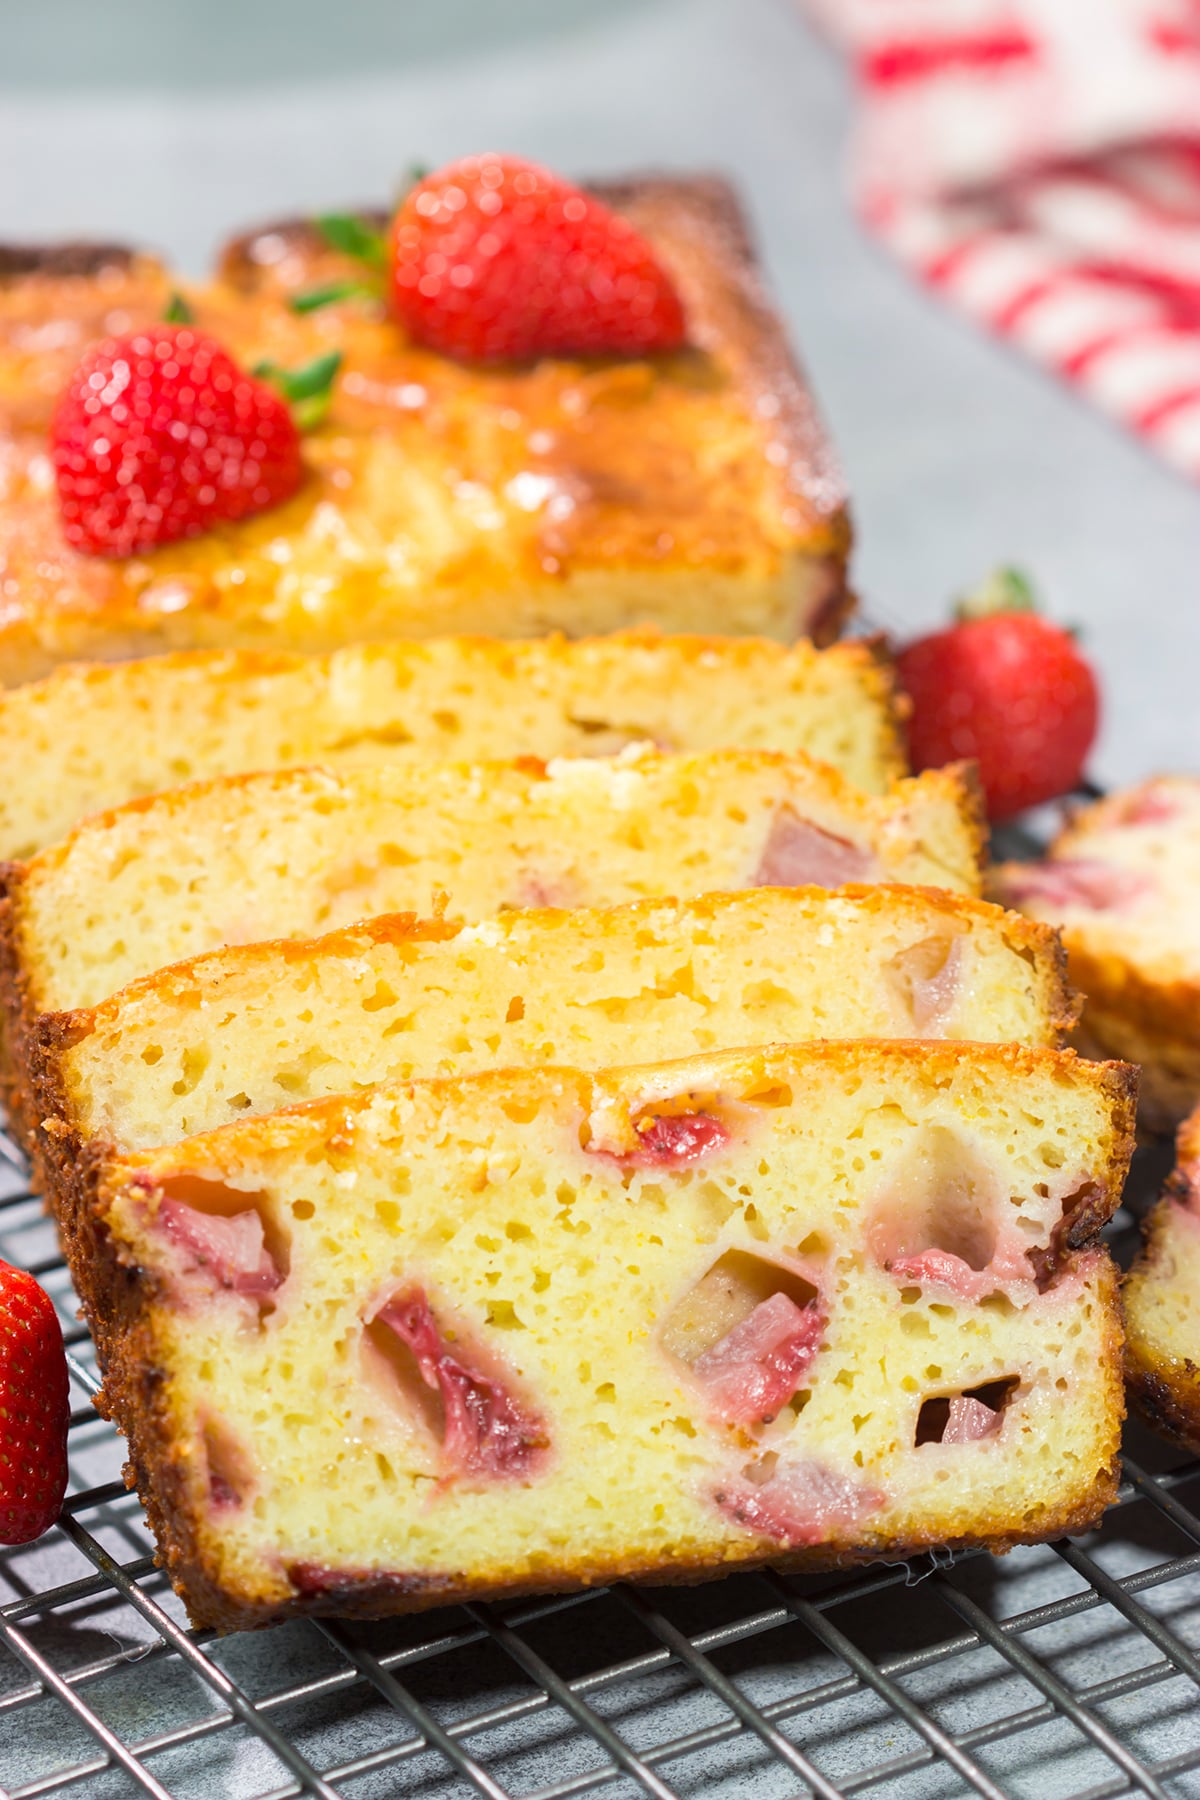
Fresh Strawberry Bread
Mini Strawberry Margarita Cheesecakes
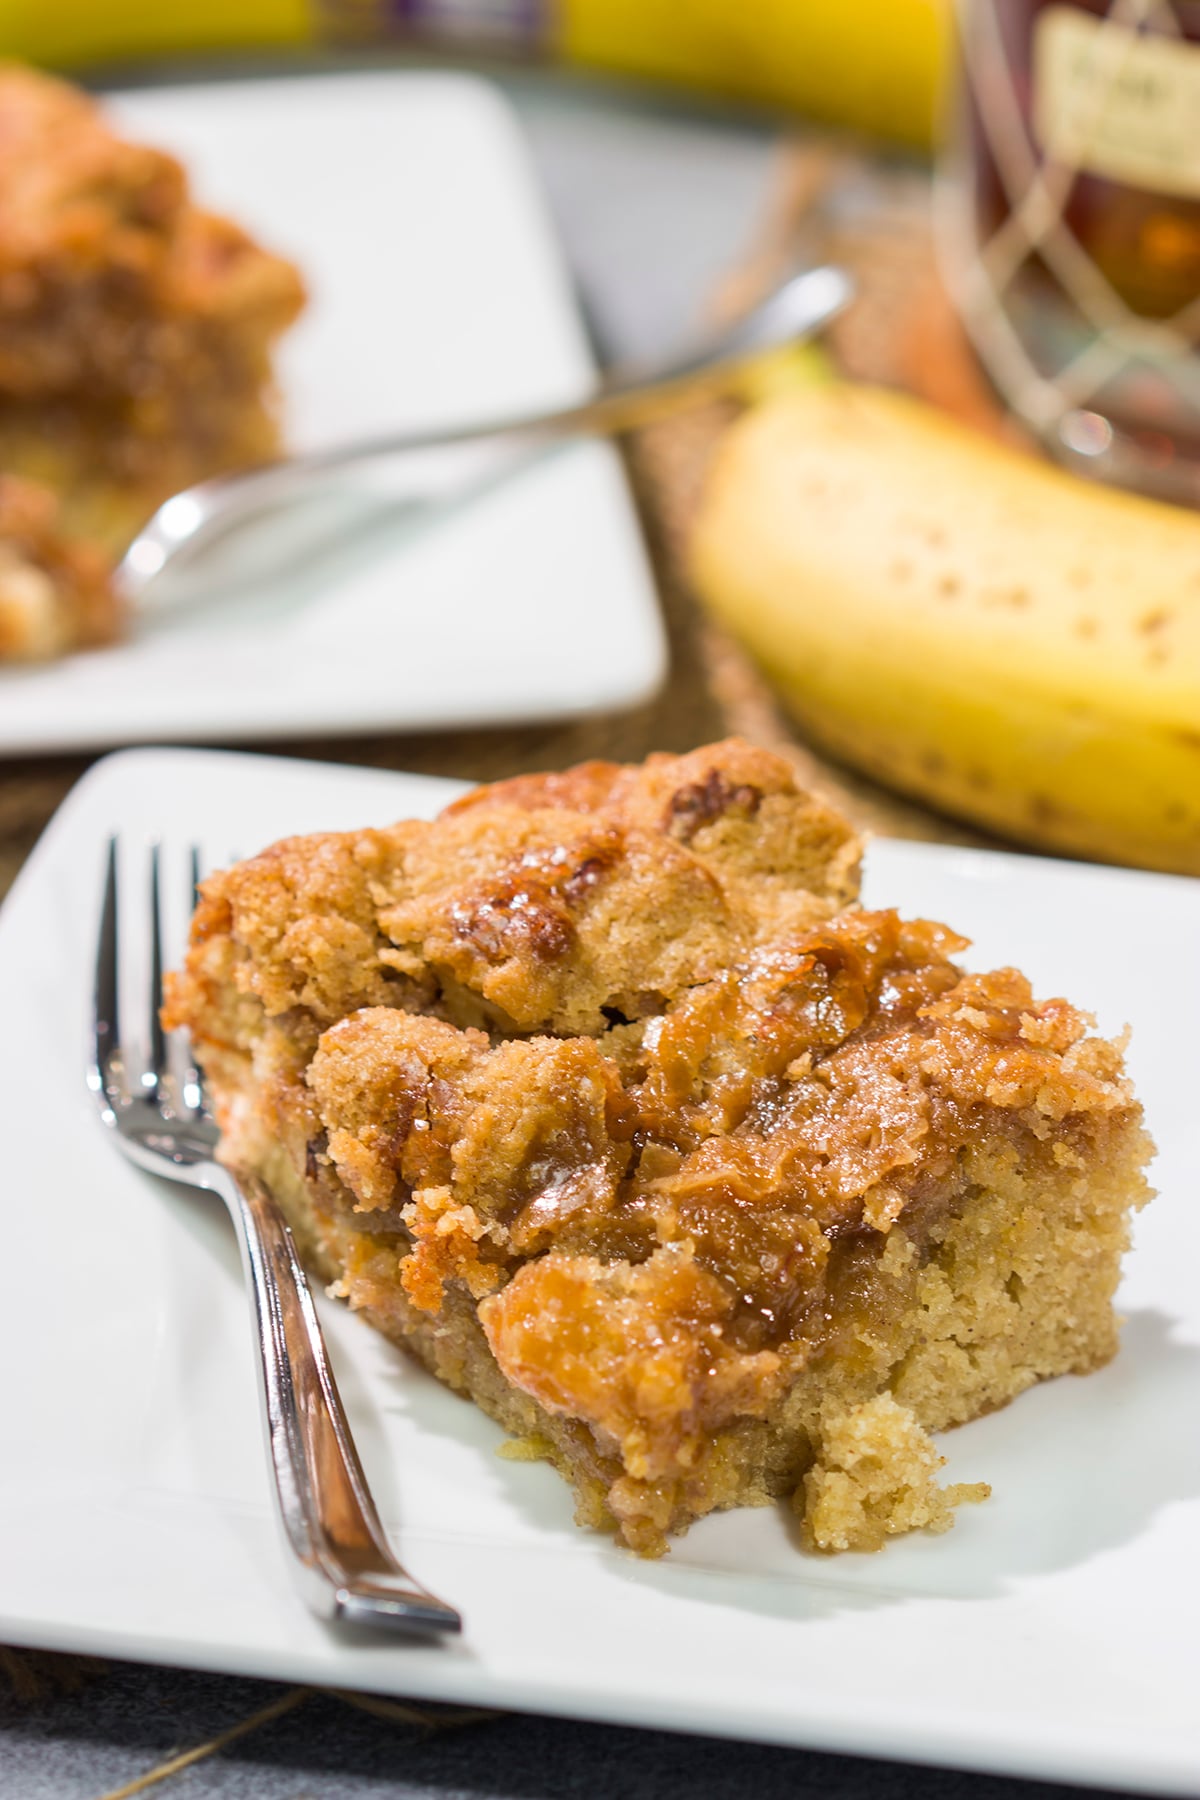
Bananas Foster Cake
Page navigation
1
2
3
…
152
Next Page
Next
Scroll to top
Scroll to top
Home
Latest Recipes
About
Contact
Appetizers
Dinner
Desserts
Breakfast
About
Facebook
Twitter
Instagram
Pinterest
Toggle Menu Close
Search for:
Search